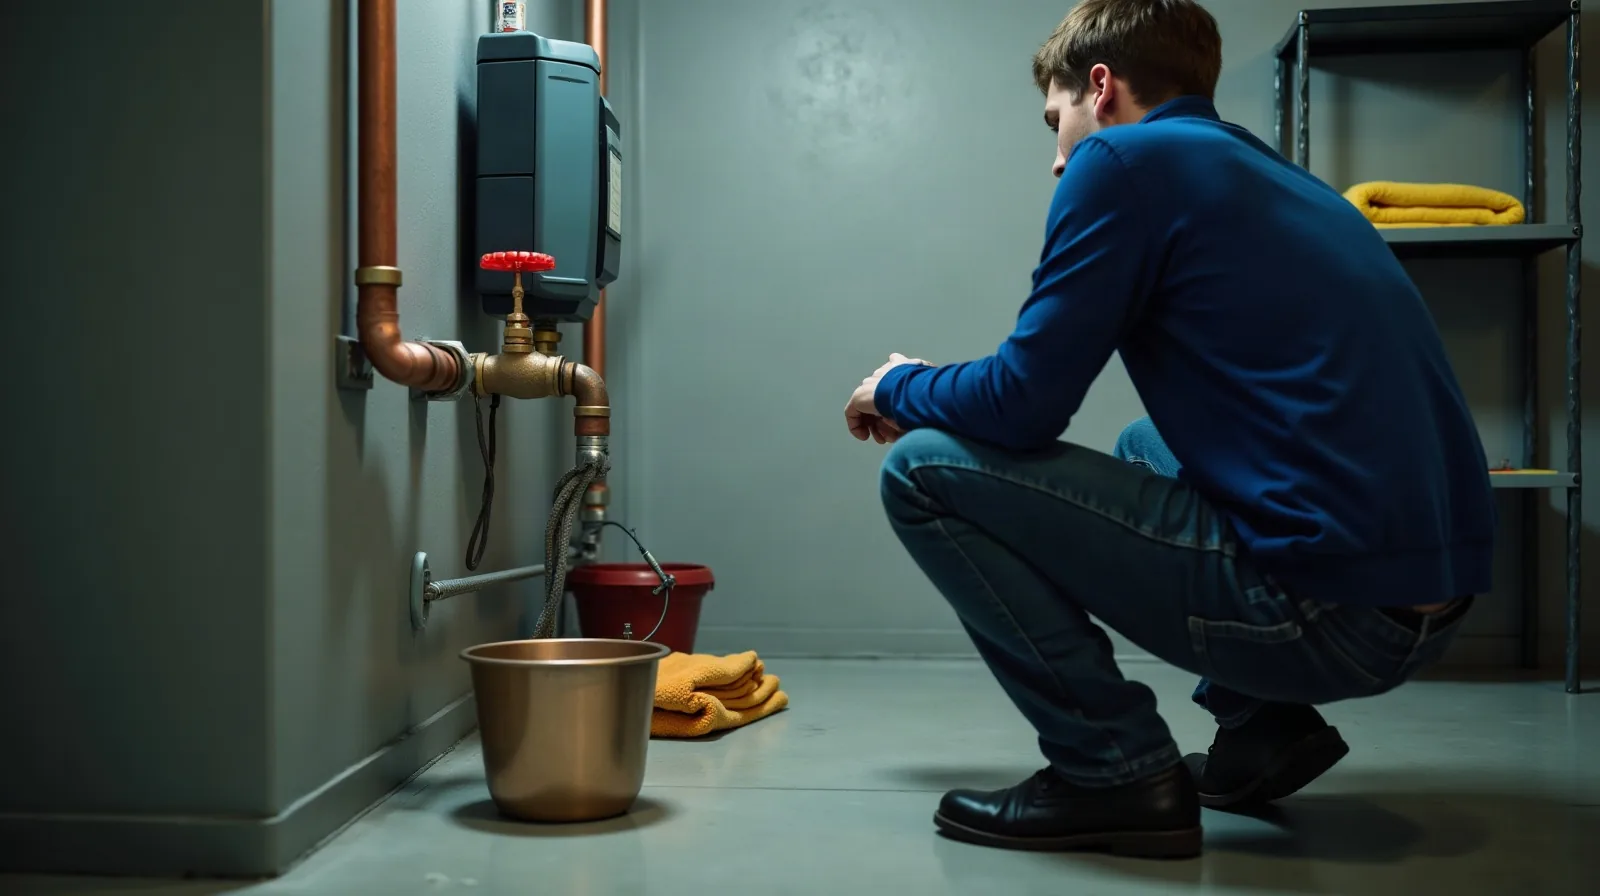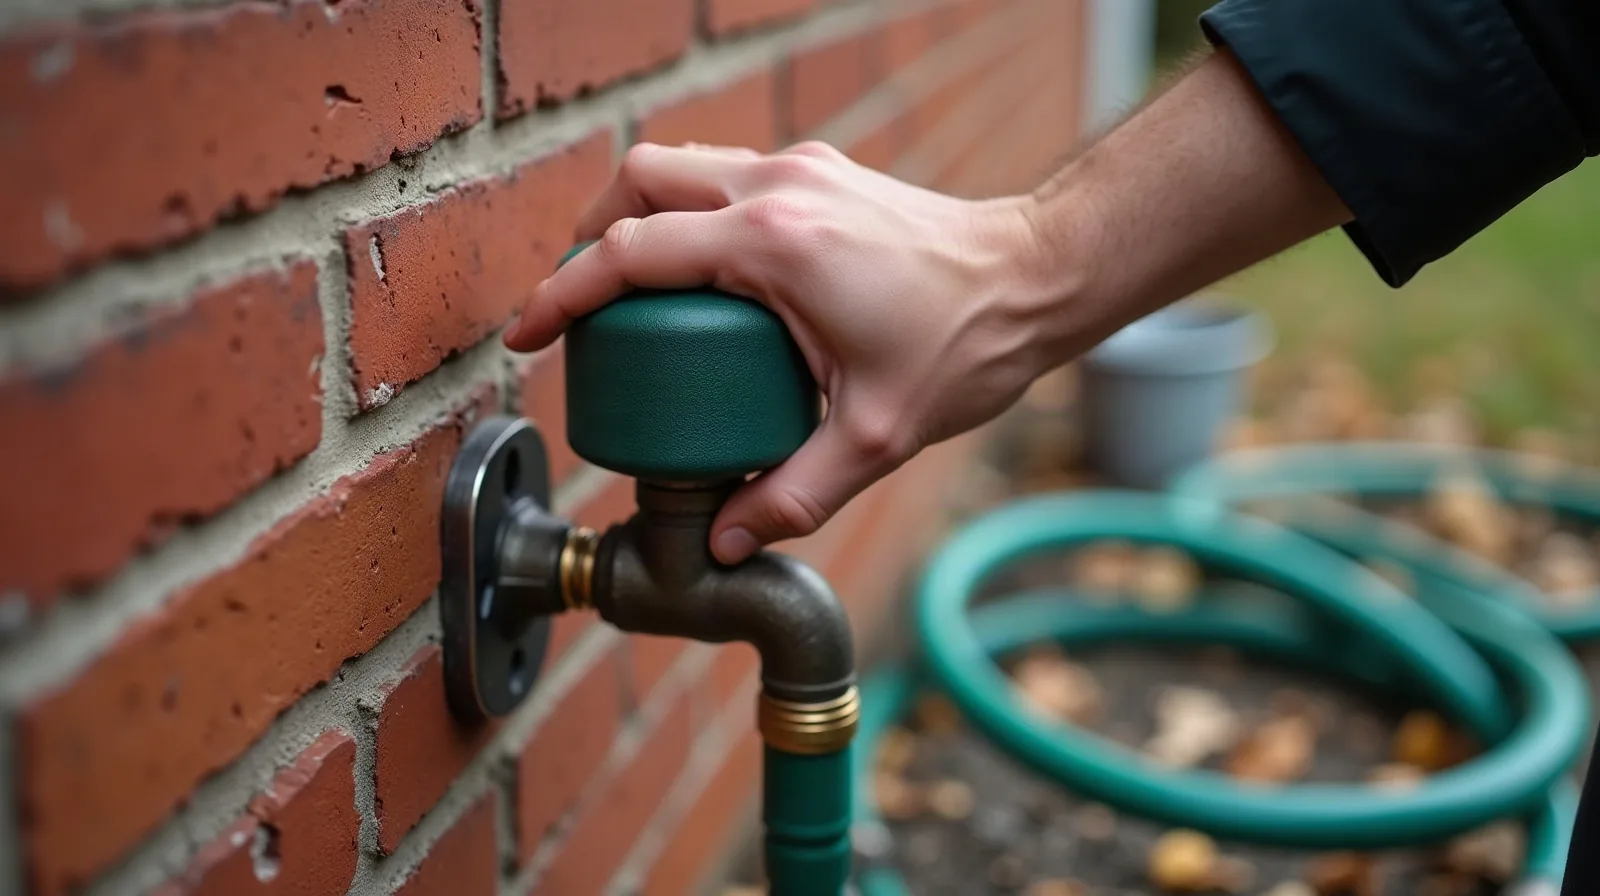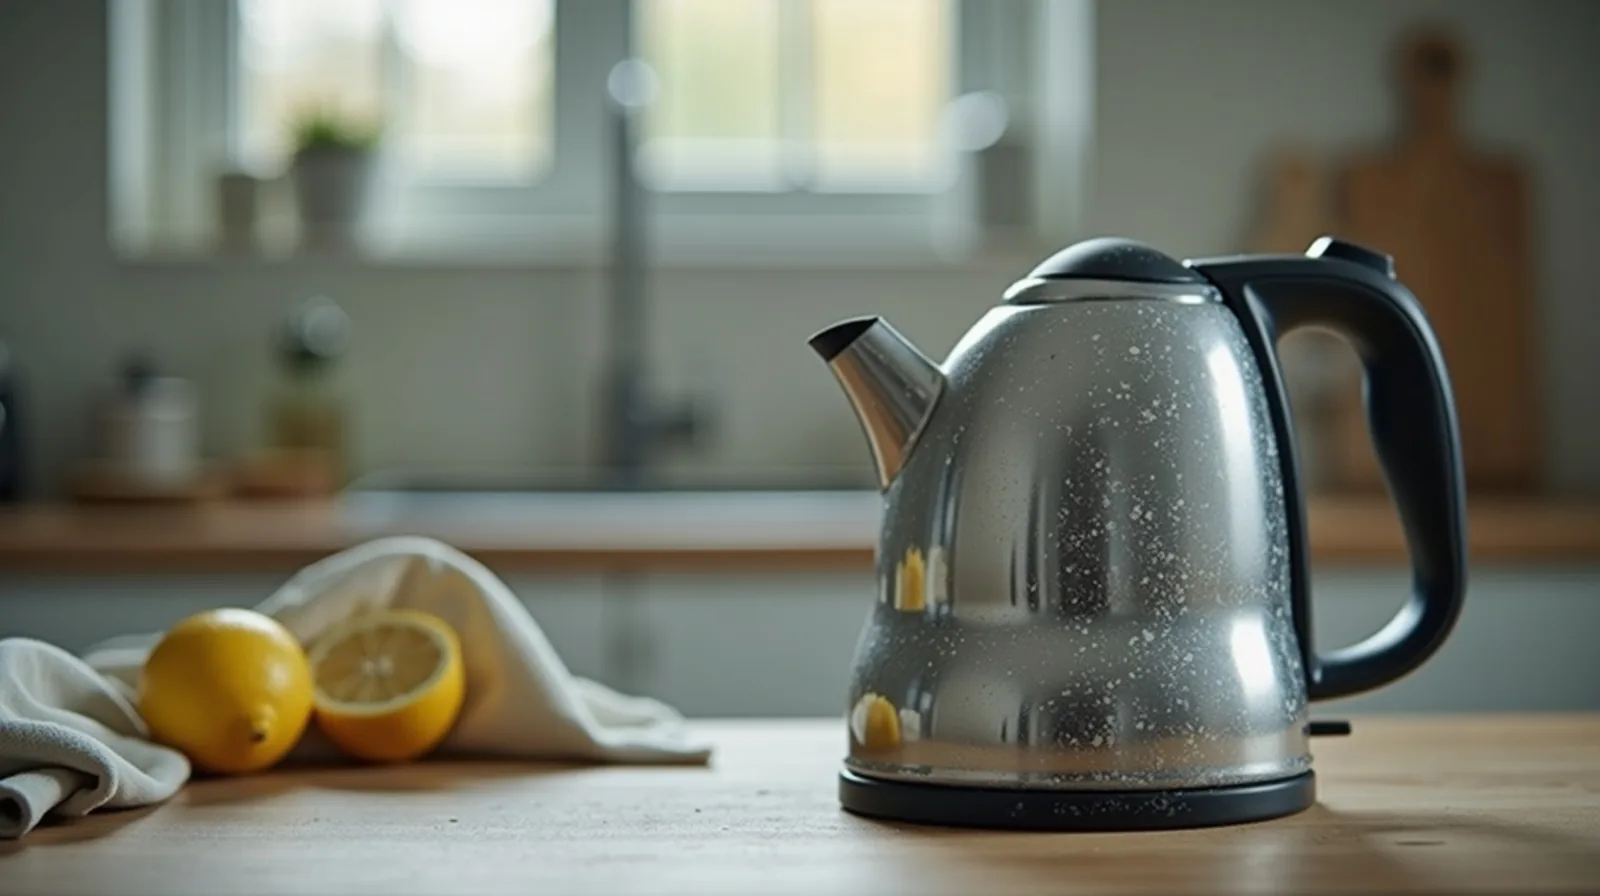
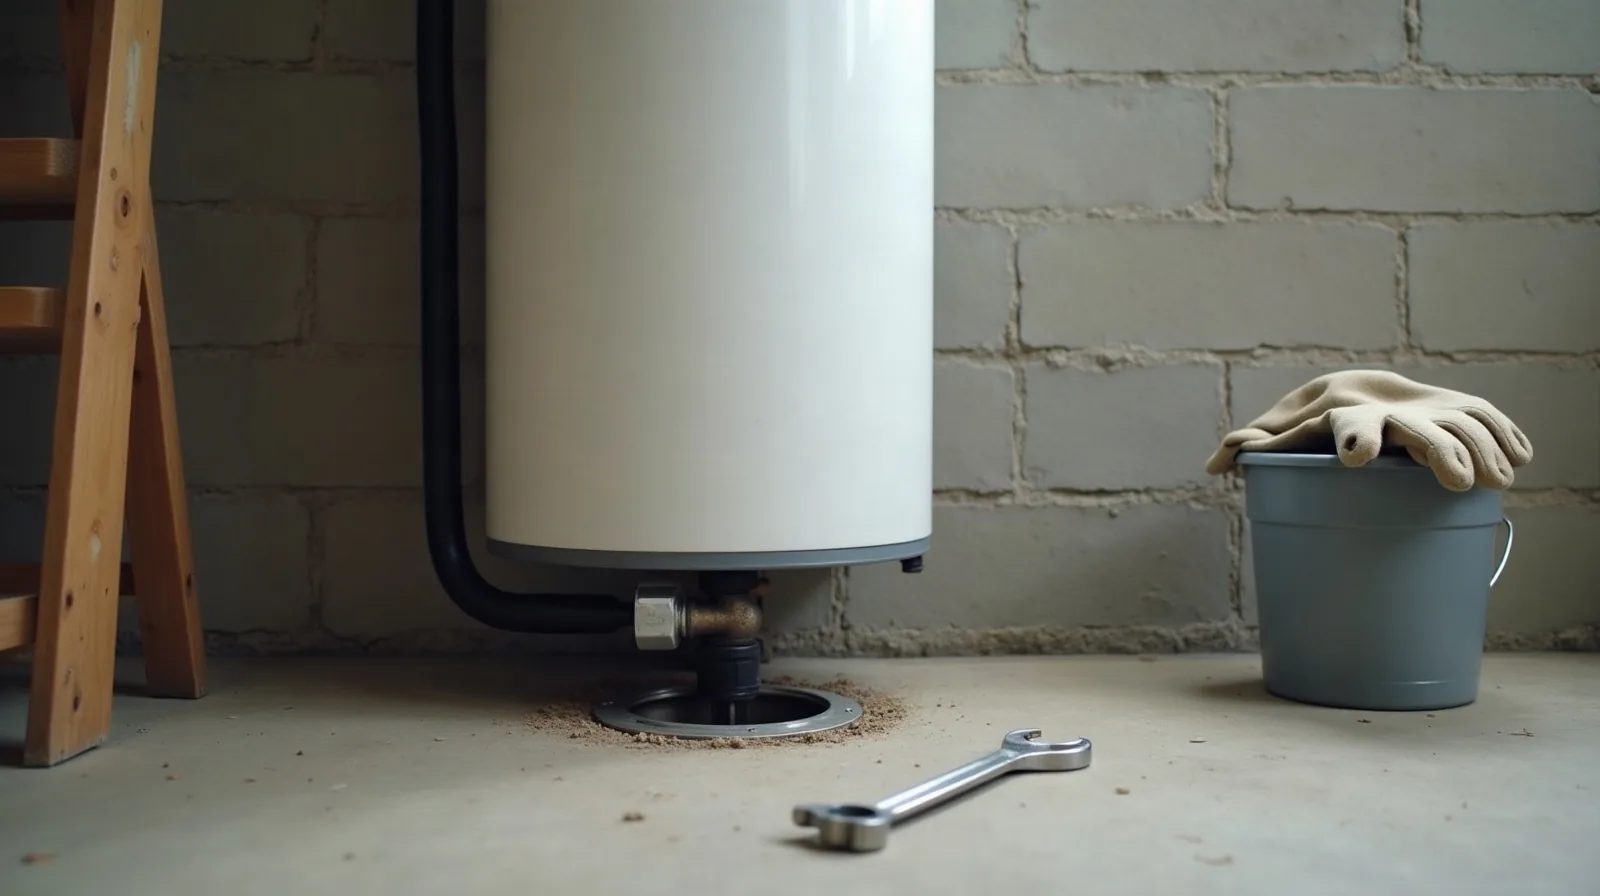
A tank water heater sits in a corner doing its job for years without a second glance, right up until it starts rumbling, runs out of hot water halfway through a shower, or leaves a puddle on the floor. By then, the damage has usually been building for a long time.
The good news is that the maintenance that prevents most of those failures is simple. Set aside about an hour once a year, and most of it is waiting for water to drain.
Why Sediment Is the Real Enemy
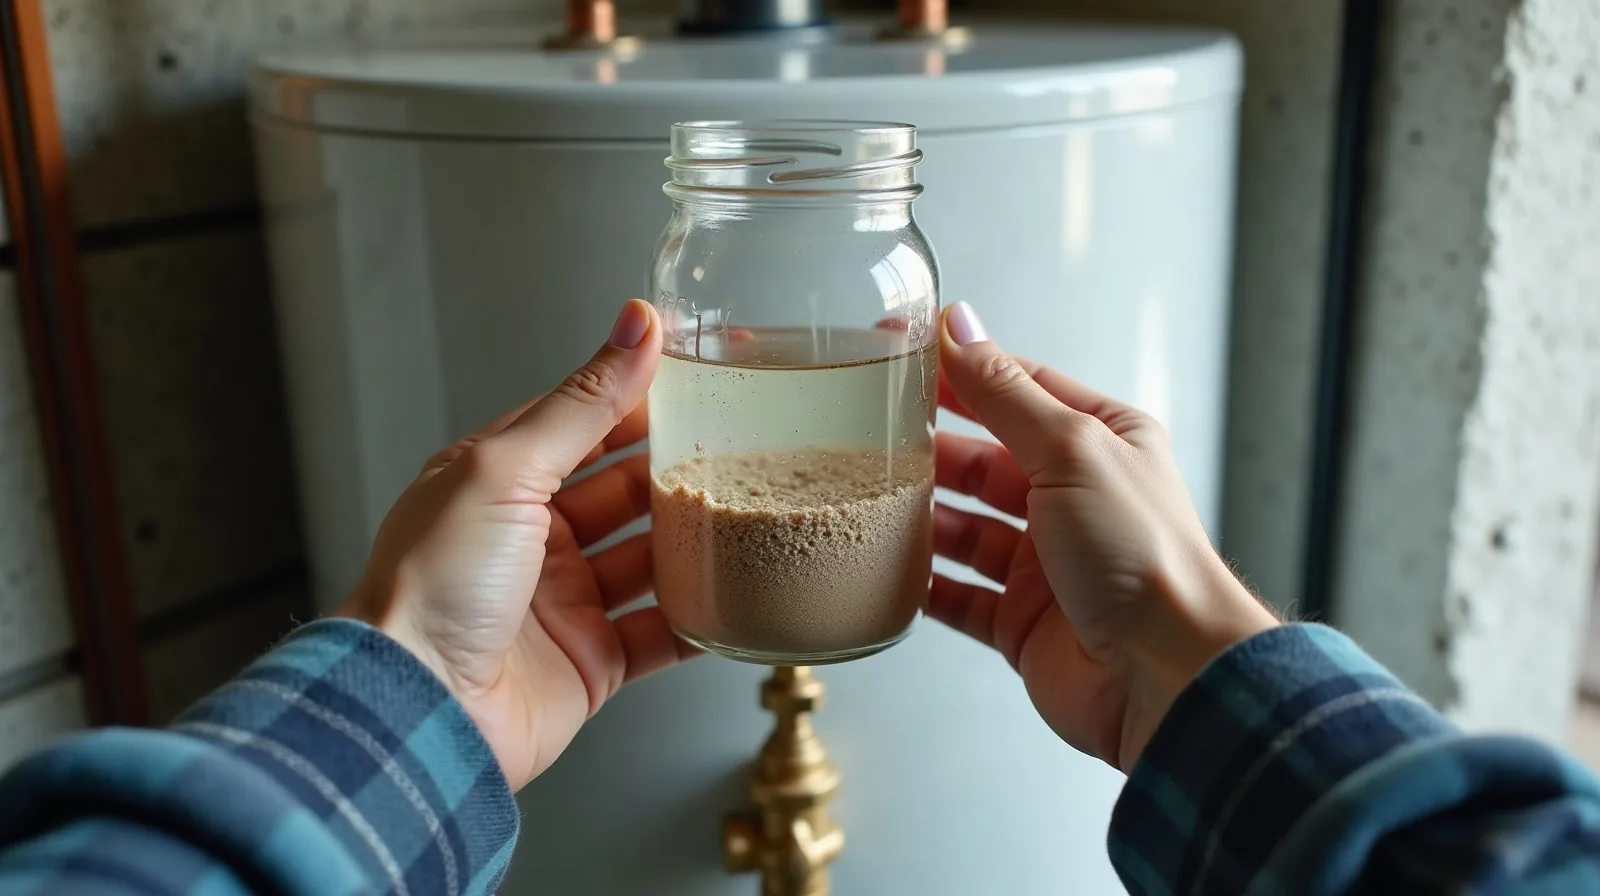
Tap water carries dissolved minerals. When the tank heats that water, some of those minerals fall out and settle on the bottom as a layer of sand-like grit and flakes. Hard water makes it build up faster, but every tank collects some.
That layer causes three problems:
- It wastes energy. On a gas heater, the burner sits under the tank and has to push heat through the sediment before it reaches the water. On an electric heater, the lower heating element can get buried in it and burn out.
- It shrinks your hot water supply. Every inch of grit is space that no longer holds hot water.
- It stresses the tank. Water trapped under the layer flashes to steam, which is the popping and rumbling sound many older heaters make. Over time that overheating weakens the tank lining at the bottom, which is where most leaks start.
Flushing the tank washes that grit out before it hardens. It is the single most useful thing you can do for a tank heater.
Before You Start: Power, Gas, and Hot Water
Gather a standard garden-type drain hose long enough to reach a floor drain or the outdoors, a bucket, a flat screwdriver or adjustable wrench, work gloves, and a flashlight. Then set up safely:
- Read the label on the tank. It tells you whether the heater is gas or electric, often shows the manufacture date in the serial number, and usually includes model-specific drain instructions worth following over any general advice.
- Turn off the heat source. For an electric heater, switch off its breaker at the panel. Heating elements that run in an empty tank burn out within seconds. For a gas heater, turn the control knob to its “pilot” or “vacation” setting so the burner will not fire while the tank is empty.
- Let it cool. The water inside can be hot enough to scald. Shut the heat off a few hours ahead, or the night before, so you are draining warm water rather than very hot water.
- Find the cold supply valve on the pipe that feeds the top of the tank. You will close and open it during the flush.
If you ever smell gas near the heater, stop. Leave the house and call your gas utility from outside rather than touching any switches or controls.
Flush the Tank Step by Step
- Close the cold supply valve at the top of the tank.
- Attach the hose to the drain valve near the bottom of the tank and run the other end to a floor drain, a utility sink, or outdoors. The hose end must be lower than the valve for the tank to drain by gravity.
- Open a hot water faucet somewhere in the house, ideally on an upper floor. This lets air into the system so the tank drains smoothly instead of glugging.
- Open the drain valve slowly. Many tanks have a plastic valve that can be brittle on an older heater, so turn it gently. Expect cloudy or rust-tinged water at first.
- Let the tank empty, which usually takes twenty to forty minutes depending on the size and your water pressure.
- Stir up what is left. With the drain still open, open the cold supply valve for a minute or two. The incoming rush churns the bottom and carries out sediment that settled too firmly to drain on its own. Repeat a few times until the water at the hose end runs clear.
- Close the drain valve and remove the hose.
- Refill the tank. Open the cold supply valve fully and leave the upstairs hot faucet running until it flows steadily without sputtering. That sputter is trapped air, and the tank is not full until it stops.
- Restore the heat. Only once the tank is full, switch the breaker back on or return the gas control to its normal setting, following the label if the pilot needs relighting.
Check the drain valve for drips a few minutes later and again the next day. A slow drip often stops after a firm, gentle snug; one that keeps going means the valve needs replacing.
Test the Relief Valve
Near the top of the tank is the temperature and pressure relief valve, a small lever valve with a pipe running down toward the floor. It is the heater’s safety release: if pressure or temperature ever climbs too high, it opens to let water out before the tank can fail.
A valve that sits unused for years can seize, so test it once a year:
- Put a bucket under the end of the discharge pipe.
- Lift the lever for a few seconds. You should hear a rush and see hot water flow into the bucket. Keep hands and feet clear of the pipe end.
- Let the lever snap back into place.
If nothing comes out, if the valve keeps dripping after you let go, or if it is already dripping before you test it, have it replaced by a plumber. This is one part of the heater you never want to leave unreliable.
Check the Anode Rod Every Few Years
Inside most tanks hangs a metal rod called the anode, which slowly corrodes on purpose so the tank wall does not. Once it is eaten away, the tank itself starts to rust from the inside.
Checking it every three to five years, and every two or three in a hard-water or softened-water home, can add years to a heater. The rod is threaded into the top of the tank and is often very tight, so removing it can take a large socket and real leverage. If it is down to a bare wire core or coated in thick crust, it is due for replacement. Many people leave this check to a plumber during a routine visit, which is a sensible call.
A rotten-egg smell from the hot water only is a related clue. It often comes from a reaction between the anode and bacteria in the tank, and is worth raising with a plumber rather than masking.
Set the Temperature and Clear the Space
A few small habits round out the yearly routine:
- Keep the setting moderate. Around 120°F (49°C) is a common recommendation for most households: hot enough for washing, low enough to reduce scald risk and slow mineral buildup. Many heaters ship set hotter than that.
- Keep clearance around the heater. Do not store paint, solvents, gasoline, or aerosol cans near a gas heater, and keep laundry piles, boxes, and clutter away from the burner area and the vent. Leave a clear path so the drain valve and relief valve stay easy to reach.
- Look at the floor and the fittings while you are there. Damp spots, rust streaks at the base, or crusty green or white buildup on the pipe connections are early warnings worth catching.
When to Call a Pro or Start Shopping
Maintenance extends a heater’s life, but it cannot make it last forever. Most tank heaters run roughly eight to twelve years. Start planning for a replacement when you see:
- Water pooling under the tank itself rather than from a fitting. A leaking tank cannot be repaired.
- Rusty hot water from several faucets while the cold water stays clear.
- Loud rumbling that a flush no longer quiets.
- Hot water that runs out much faster than it used to, even after flushing.
- An age past about ten years on the label, especially combined with any of the above.
Replacing a heater on your own schedule is far cheaper and calmer than dealing with a failed tank on a flooded basement floor. If you have a tankless heater, the routine is different: it needs a periodic descaling flush with a small pump kit, following the manufacturer’s instructions, rather than a tank drain.