Somewhere in most homes there’s a shoebox, a bag, or a drawer of printed photos nobody has looked at in years. They’re unlabeled, mixed with duplicates and blurry misfires, and slowly curling in a closet that gets too warm in summer. The pictures matter, but the pile is so big that nobody starts.
The trick is to stop treating it as one giant project. A three-pile sort, a simple scanning routine, and a short list of storage rules turn the box into something you can actually enjoy — and protect the prints that are worth keeping.
Set Up a Sorting Station First
Most photo projects stall in the first hour because the table is too small or the light is bad. Spend ten minutes on setup and the rest goes faster.
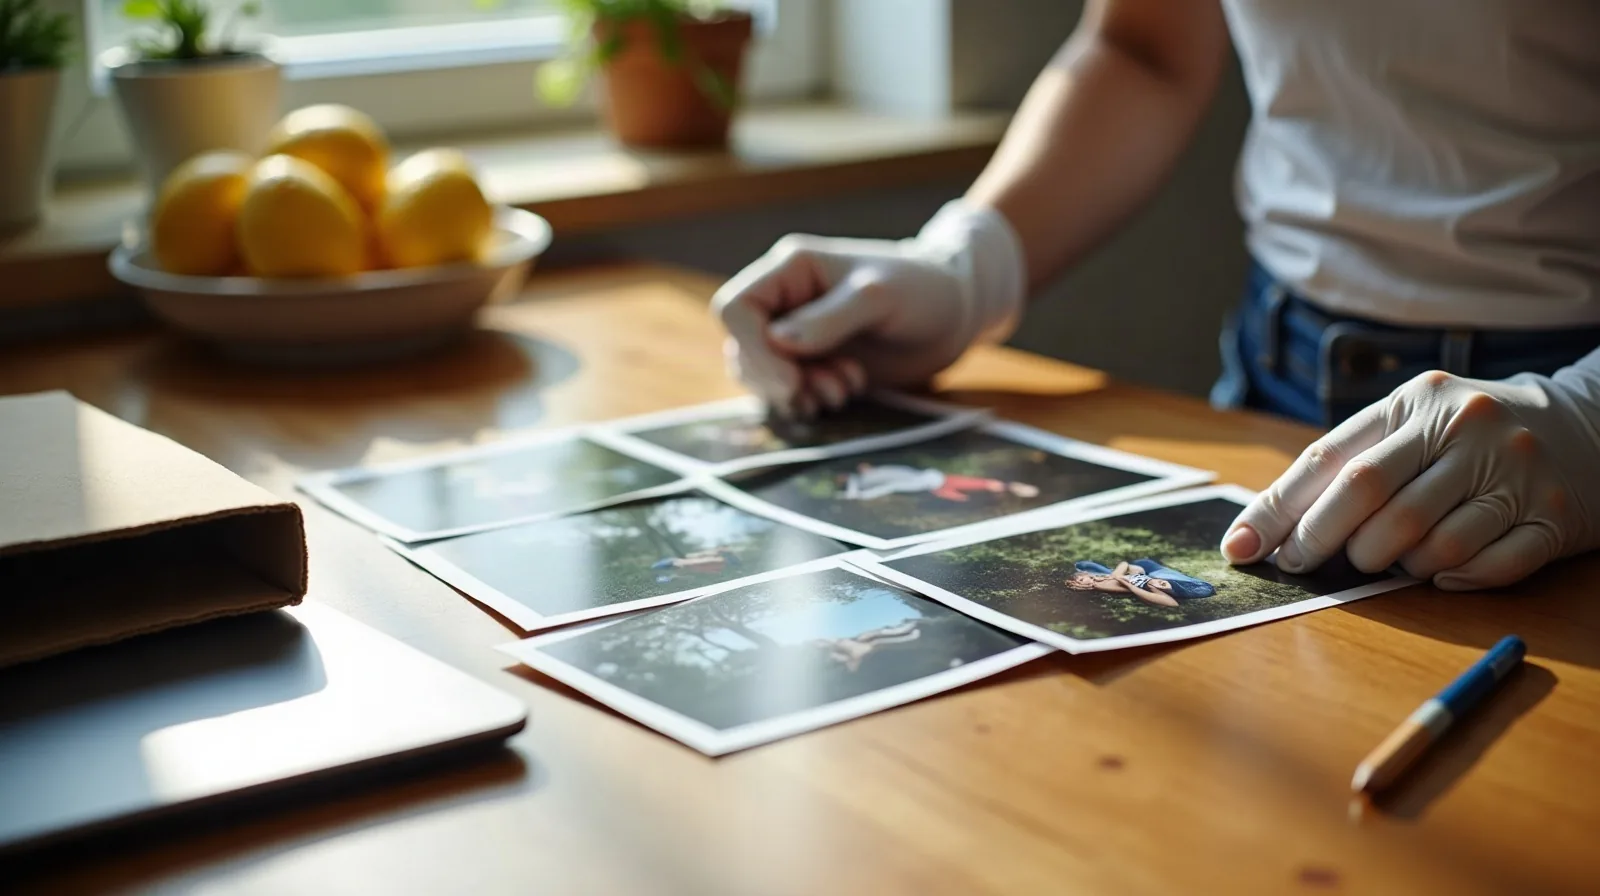
- Use a big, clear surface. A dining table or a clean floor works. You need room for several piles at once.
- Work in good light. Daylight from a window shows creases, fading, and faces better than a lamp.
- Wash and dry your hands. Skin oils leave fingerprints on glossy prints. Hold photos by the edges, or wear clean cotton gloves for the oldest ones.
- Grab a pencil, not a pen. Ink bleeds through paper. A soft pencil is the only thing that should touch the back of a print.
- Keep three containers handy. Shallow boxes, trays, or folders to catch each pile as it grows.
Pick one box or one bag to start. Finishing a single small box beats abandoning an entire attic.
The Three-Pile Sort
Go through the prints once, quickly, and put every photo into exactly one pile. Resist the urge to reminisce on the first pass — you’ll get to enjoy them in a minute.
- Keep. Clear, meaningful photos: people you love, milestones, places that mattered, and the one good shot out of a set.
- Scan only. Photos you want to keep as a picture but don’t need as an object — bulky albums, oversized prints, or shots you love but won’t ever hang.
- Let go. Duplicates, blurry frames, thumbs over the lens, and scenery with no story. If you can’t say who or why, it probably goes.
A useful test is the “would someone care?” question. If a stranger couldn’t tell why it matters and neither could you, it doesn’t earn space. Keep the best two or three of a series, not all twenty.
Label Before You Forget
A photo without a name or a date is a mystery to the next generation. Do this while you still remember who’s in the picture, and fill in gaps by asking relatives who might know.
- Write lightly on the back. A soft pencil, in the margin: names, place, and the year or even the decade.
- Use a sticky note for fragile prints. Anything too delicate to write on gets a note on its folder or sleeve instead.
- Group by event, not by year alone. “Beach trip, summer” is easier to find than a stack of prints from one decade.
- Ask while you can. Older relatives often know the names and dates nobody else does. A short phone call can save a photo’s whole story.
Perfect labels aren’t the goal. A rough date and a first name beats a blank back every time.
Scan the Ones Worth Protecting
Prints fade, stick together, and get lost in floods and moves. A digital copy is cheap insurance, and it makes sharing with family easy.
- Start with the irreplaceable. Scan the oldest and most meaningful photos first, in case time runs out.
- Use a flatbed scanner for quality. Wipe the glass, line the print up square, and scan at a high enough resolution to enlarge later.
- Use a phone scanning app for speed. Lay the print flat in even light and avoid glare. It’s fine for casual copies and big batches.
- Name the files as you go. Something like the year, the event, and the people in the shot keeps search useful later.
- Back it up in two places. One copy on a drive or computer and another in cloud storage, so a single failure never takes the lot.
Don’t throw out the originals the moment they’re scanned. Keep the best prints; release the scans-only pile only when the digital files are safely backed up.
Store What You Keep So It Lasts
Where photos live matters as much as how they’re sorted. Heat, humidity, and light are the usual culprits.
- Choose cool, dry, and dark. A bedroom closet or an interior shelf beats an attic, garage, or basement, where temperature swings and damp wreck prints.
- Use photo-safe containers. Look for boxes and sleeves labeled acid-free or archival. Ordinary cardboard and sticky “magnetic” album pages can damage photos over time.
- Keep prints flat and upright. A snug, shallow box with dividers stops curling. Don’t cram or stack too tall.
- Remove rubber bands, paper clips, and tape. They leave marks and dents. Separate stuck prints gently, and ask a professional about any that are truly fused.
- Keep them off display light. If you frame a favorite, hang it away from direct sun, and consider framing a copy.
Make the Photos Part of Life Again
The point of all this is to see the pictures. Once the keepers are sorted, give them a small job.
- Make one “best of” album. Thirty or forty favorites, one per story, are easier to flip through than ten shoeboxes.
- Frame a few copies. A small rotating display in a hallway keeps faces visible.
- Share the scans. Send a shared folder or a short slideshow to relatives, and let them add names you missed.
- Set a small ongoing habit. When new prints arrive, sort them the same day instead of letting a new pile start.