
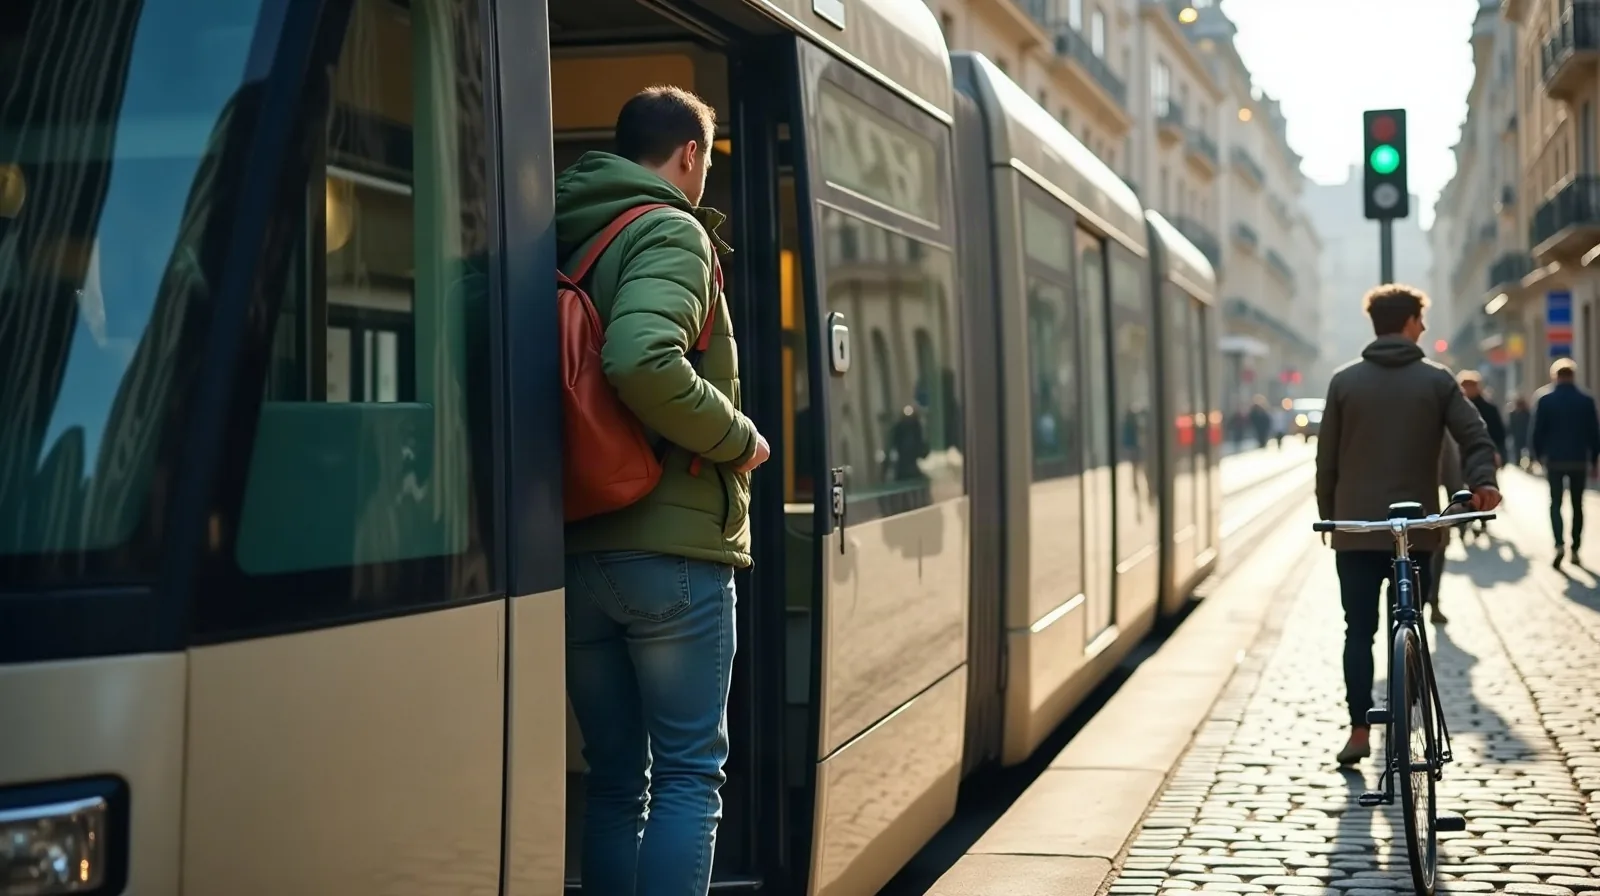
Standing in front of an unfamiliar ticket machine with a line forming behind you is a rite of passage. The good news is that nearly every transit system, from a small-town bus loop to a big-city subway, runs on the same few ideas. Spend a little time on them before you leave the hotel and the whole thing gets calm.
Start With the Fare, Not the Route
The most common first-day mistake is figuring out where to go and forgetting how to pay. Look up the fare system first, because it decides everything else:
- Tap-to-pay. Many systems now accept a contactless bank card or a phone wallet straight at the gate. This is usually the easiest option, and some cities cap your daily spending automatically.
- Reloadable cards. Others want a dedicated card, often with a small refundable or non-refundable deposit. Ask whether it is worth it for your length of stay.
- Passes. A day or multi-day pass pays off when you plan three or more rides a day. For a couple of rides, single fares are usually cheaper.
- Exact change. Some buses still need it, and drivers cannot make change. Keep a few coins or small bills for exactly this.
The official transit agency website is the reliable place to check, and it often has a short “visitors” page that answers all of this in one spot.
Plan the Trip in Your Map App
A map app’s transit mode does the heavy lifting: it shows which line to catch, what time it leaves, where to transfer, and how long the walk is at each end. Before you head out:
- Enter your destination and pick the transit view. Compare the top two or three options, not just the first.
- Note the direction, not just the line. Lines run both ways, and boarding the wrong direction is the classic mix-up. Look for the name of the final stop on the route; that is what signs and announcements use.
- Save your hotel and key stops. Starring them makes the return trip a single tap.
- Download the area for offline use in case the signal drops underground.
Read the Signs Like a Local
Once you are at the stop or station, three details keep you on track:
- Line color or number. Match it to what your map app showed, and confirm the direction by the end-of-line name on the sign or the front of the vehicle.
- The next-arrival board. Digital displays and live map data tell you how long the wait is, which beats guessing from a printed schedule.
- The stop announcements. Listen for the stop before yours, and keep your map app open as a second check. If a stop is skipped or an announcement is unclear, the live blue dot is your safety net.
If you are unsure at any point, ask. Station staff, drivers, and fellow riders are usually happy to point you the right way, and a quick “does this go toward downtown?” saves a long detour.
Ride Smart and Stay Safe
- Keep your bag in front. In crowds, wear a backpack on your chest and keep your phone out of back pockets.
- Stand back from the doors. Let people exit first, then board. Move toward the middle of the car so others can get on.
- Validate if required. Some systems, especially buses and regional trains, need you to tap or stamp your ticket. Riding without a validated fare can mean a hefty fine.
- Check the last service. Late-night service is much thinner in many cities. Look up the final train or bus home before an evening out.
Build in a Little Slack
A first ride always takes longer than the map says: finding the entrance, figuring out the gate, waiting for the right platform. Leave an extra 15 minutes for any trip with a deadline, such as a flight, a tour, or a reservation, and the unfamiliar becomes part of the fun instead of a source of stress.