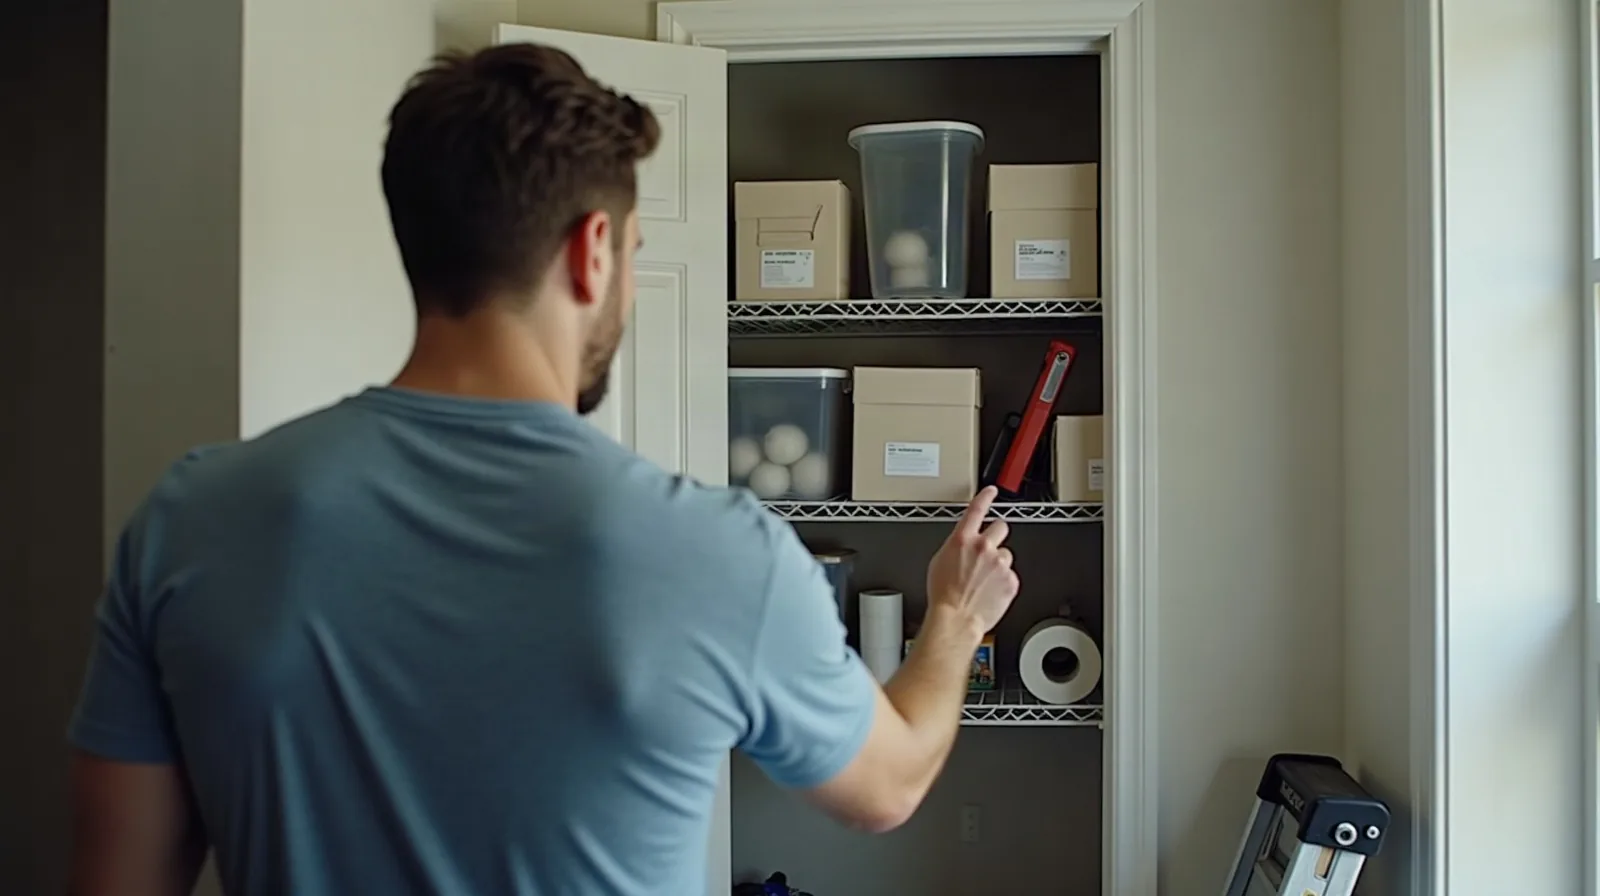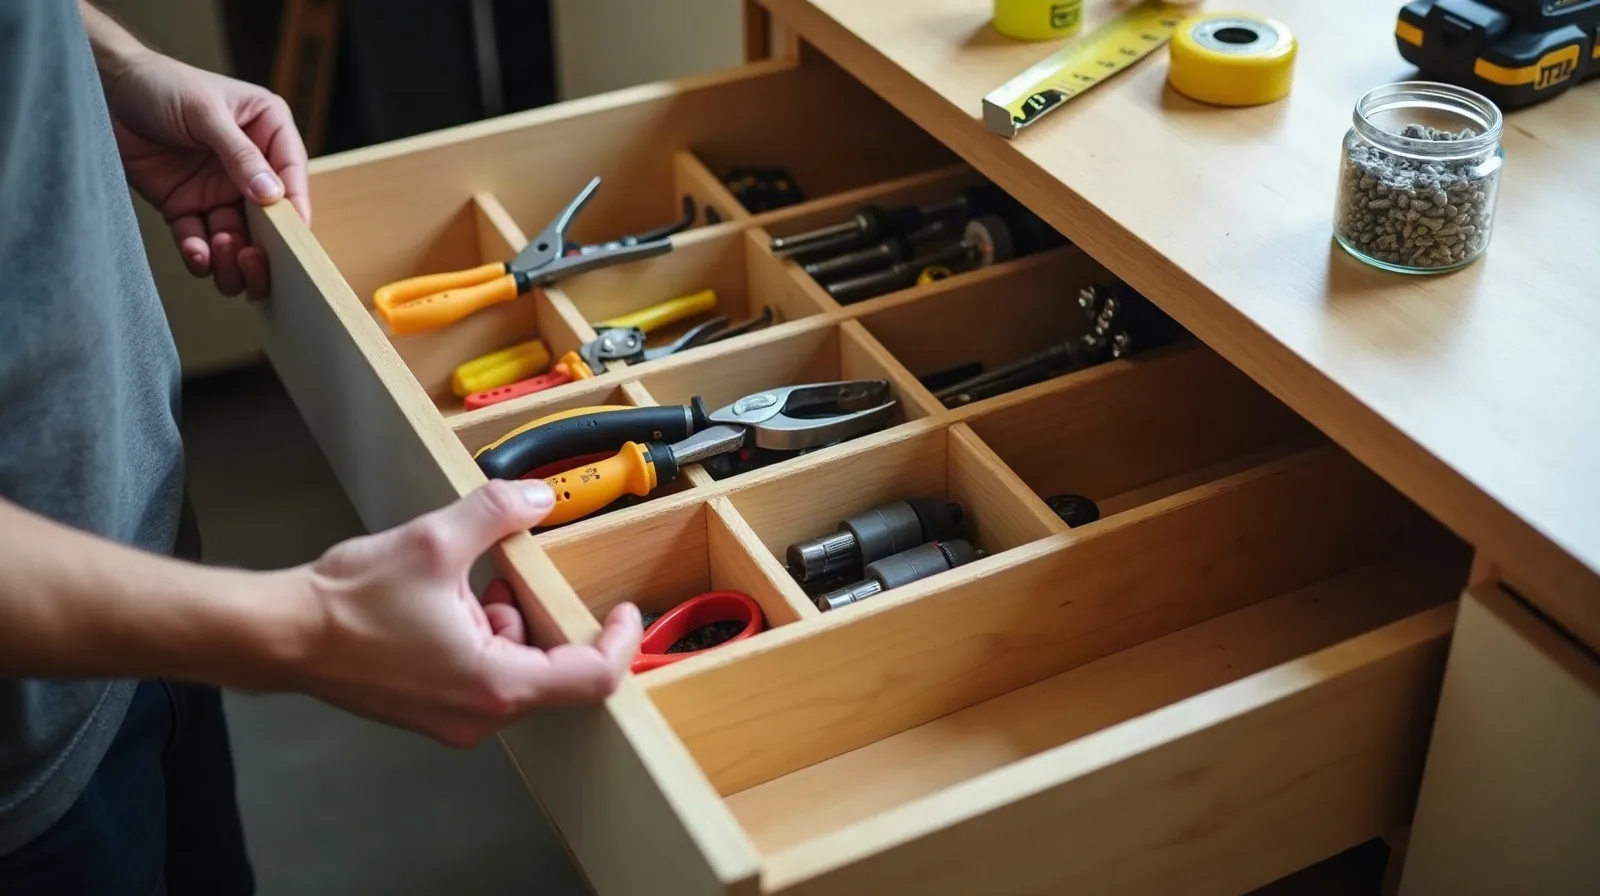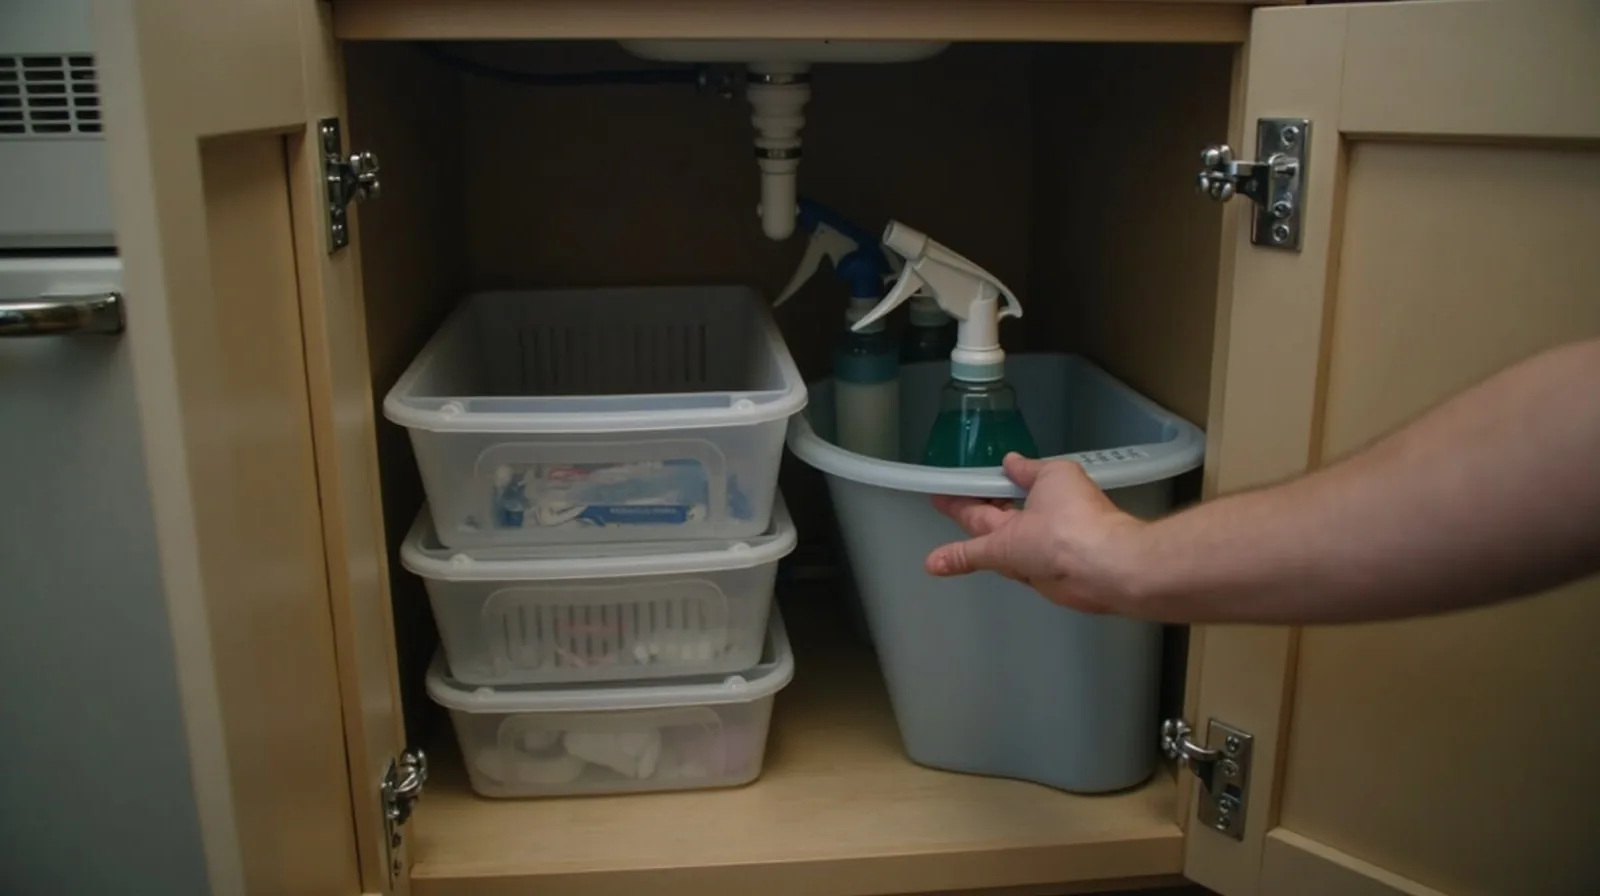
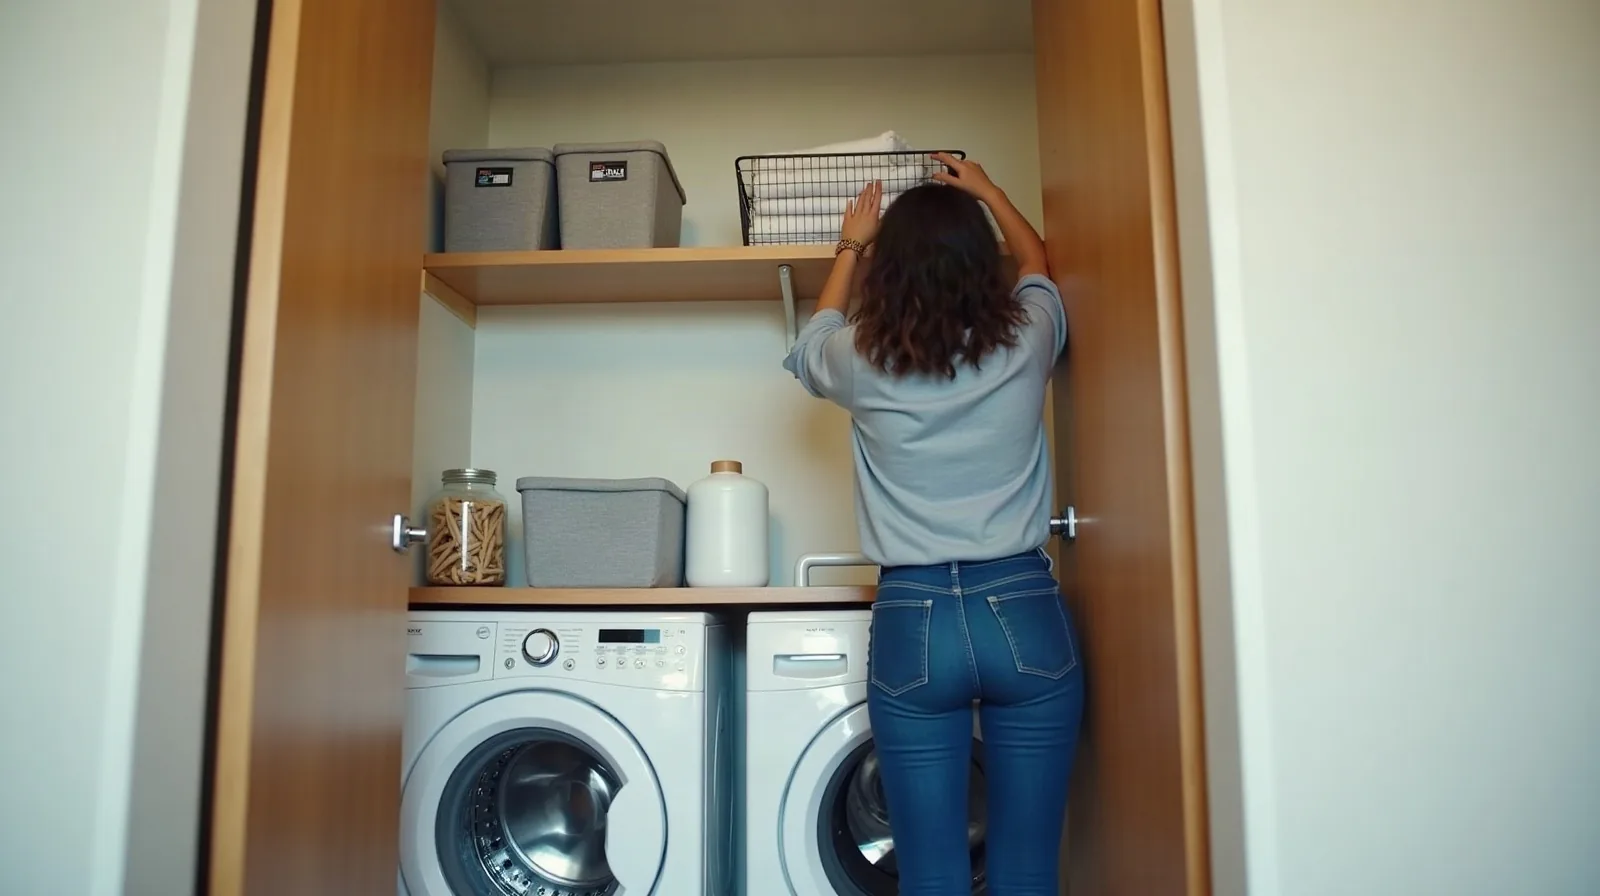
A laundry closet or hallway nook is a tiny room with a big job. Dirty clothes arrive, detergent lives somewhere, clean clothes wait to be folded, and all of it competes for the same top-of-the-machine surface. By Wednesday it is a pile.
The fix is not more space. It is deciding what happens where, so each step of the laundry cycle has its own spot and nothing has to be moved to make room for the next step.
Why Small Laundry Spaces Turn Into Piles
In a tight space, flat surfaces do triple duty. The washer lid becomes the folding table, the shelf becomes the dumping ground, and the floor becomes the sorting area. When clean clothes sit next to dirty ones and supplies are buried behind both, every load starts with moving things around.
Good setups work the way a well-planned kitchen does: a clear path from start to finish. Laundry moves one direction — dirty, washing, drying, folded, put away — so the space should be laid out in that order.
The Three Zones: Floor, Middle, Shelf
Almost any nook can be split vertically into three working layers.
- Floor zone: dirty clothes. A hamper or bins on the floor catch everything before it is washed. Keep it low and out of the way of the machine doors.
- Middle zone: the machines. This is the only place laundry is actually processed. The goal is to keep the top of the machines clear so it can serve as a landing and folding spot.
- Shelf zone: supplies and clean-and-waiting. Detergent, stain remover, dryer balls, and a basket for items that are clean but not yet put away live above the machines, within arm’s reach.
Set Up the Floor: A Hamper That Sorts for You
Sorting is the step most people skip because it takes space. Do it at the hamper instead of at the machine.
- Use two or three bins, not one. Lights, darks, and a third for towels or delicates cover most households. A rolling three-bin hamper tucks into a narrow nook; separate slim bins work too.
- Pick bins that fit the opening. Measure the width and depth of the floor space, and the door swing, before buying anything.
- Keep each bin to about one load. When a bin is full, that is a load. That removes the guesswork about when to wash.
- Make it easy for everyone to use. If the bins are easy to drop into, clothes make it there instead of onto the bedroom floor.
Set Up the Shelf: Supplies Within Arm’s Reach
The shelf zone is where small laundry spaces gain the most. Stack storage upward and keep only what you use every week at eye level.
- Decant what you can. A pour-spout container or a lidded jar for pods or powder takes less room than bulky boxes and looks tidier. Keep the original packaging details handy if you want to check the instructions later.
- Group by task. One bin for stain treatment, one for dryer items and sachets, one for ironing or sewing odds and ends. A bin lifts out as a unit, so you are never digging.
- Add a wall solution. A narrow shelf above the machines, a wall-mounted fold-down drying rack, or hooks on the inside of the door use space no one else is using. Check clearance so the machine lids still open fully.
- Keep a lint-and-pocket dish. A small tray for coins, tissues, and found items stops them from ending up in the dryer.
Store heavier items low and lighter ones high, and keep detergent pods and stain treatments well out of reach of children and pets.
The Folding Spot and the “Clean But Not Put Away” Basket
Clean clothes are where order usually collapses. A folding surface that is always clear, plus one basket for the finished stack, fixes it.
- Keep the machine top empty. If supplies live on the shelf, the top of the machine is a free folding space.
- Fold as you unload. Taking items straight from the dryer to the folding spot is faster than carrying a warm heap to another room.
- Use one basket per person or room. Folded stacks go into a basket, and the basket gets carried to its destination. That turns putting away into a single trip.
The Two-Minute Weekly Reset
A system only holds if it is easy to restore. Once a week, run through this short list.
- Empty the lint trap and wipe the dust off the dryer door and detergent drawer.
- Return stray items from the machine top to the shelf or the dish.
- Check supplies and note anything running low.
- Confirm every basket and bin is back in its slot.
Pair it with a day you already do laundry so it becomes part of the routine rather than a separate chore.
Common Mistakes
- Buying bins before measuring. A great bin that blocks the door is worse than none.
- Storing supplies on top of the dryer. The heat is not good for plastic or liquids, and the surface should stay clear.
- Letting the shelf become a catch-all. If something does not belong to laundry, it should leave the zone.
- Skipping a spot for the “in-between” items. Dry-clean-only pieces, hand-wash items, and clothes waiting for repair need their own small bin, or they pile up on the machine.