Every week, a surprising amount of perfectly good flavor goes into the trash or the compost: onion ends, carrot peels, celery tops, mushroom stems, a roasted chicken carcass. Put those in a pot of water and a couple of hours later you have a rich, savory stock that costs nothing and tastes better than most of what comes in a carton. It’s also one of the most forgiving things you can cook, so there’s very little to get wrong once you know a few ground rules.
What Stock Actually Is (and Why Homemade Wins)
Stock is just water that has spent time with flavorful ingredients. Vegetables give it sweetness and depth; bones give it body, the slightly silky texture that makes soup feel substantial. Store-bought versions are often salty and one-note because the salt does the work the ingredients should be doing. A homemade batch starts unsalted, which means you control the seasoning later and can use it in anything from rice to a pan sauce without it turning too salty when it reduces.
The other advantage is practical. A stock built from scraps only uses what you were already going to throw away, so the only real cost is a little stove time, most of it hands-off.
Start a Scrap Bag in the Freezer
The habit that makes this work is simple: stop deciding on stock day and start saving scraps as you cook. Keep a large freezer bag or lidded container in the freezer, and every time you prep, drop the trimmings in. By the time it’s full, you’ve collected a free batch.
Good scraps to save:
- Onion and shallot ends, plus the papery skins, which add a deep golden color
- Carrot peels and ends (scrub them first if the skins are dirty)
- Celery ends and leafy tops
- Mushroom stems and trimmings
- Leek tops, the dark green parts you’d normally cut off, well rinsed
- Garlic skins and ends, parsley and herb stems
- Corn cobs, once the kernels are cut off, for a naturally sweet stock
- Bones and carcasses from roasted chicken, turkey, or a cut of meat
Freeze meat bones in a separate bag so you can choose between a vegetable stock and a meat stock when the time comes. Use the bag within a few months for the best flavor.
The Scraps to Leave Out
Most kitchen trimmings are fine, but a few can turn a whole pot bitter, muddy, or strange. Keep these out:
- Cruciferous vegetables such as broccoli, cabbage, cauliflower, and Brussels sprouts. Simmered for hours they develop a sulfurous, cabbage-water smell that takes over everything.
- Beets, which turn the stock a vivid pink-red and taste earthy and sweet in a way that rarely suits soup.
- Bitter greens and strongly flavored items like artichokes, turnips, and bell pepper trimmings.
- Starchy peels from potatoes, which cloud the liquid and can leave it gummy.
- Anything spoiled, slimy, or moldy. Stock concentrates flavor, including bad flavor. If you wouldn’t eat it, don’t simmer it.
- Heavily seasoned or sauced leftovers, like bones cooked in a strong barbecue sauce, which carry that flavor into everything you make.
When in doubt, lean on the classic base: onion, carrot, and celery, in roughly that order of quantity. Everything else is optional garnish for the pot.
The Simple Method
There’s no recipe to memorize, only a ratio and a few steps.
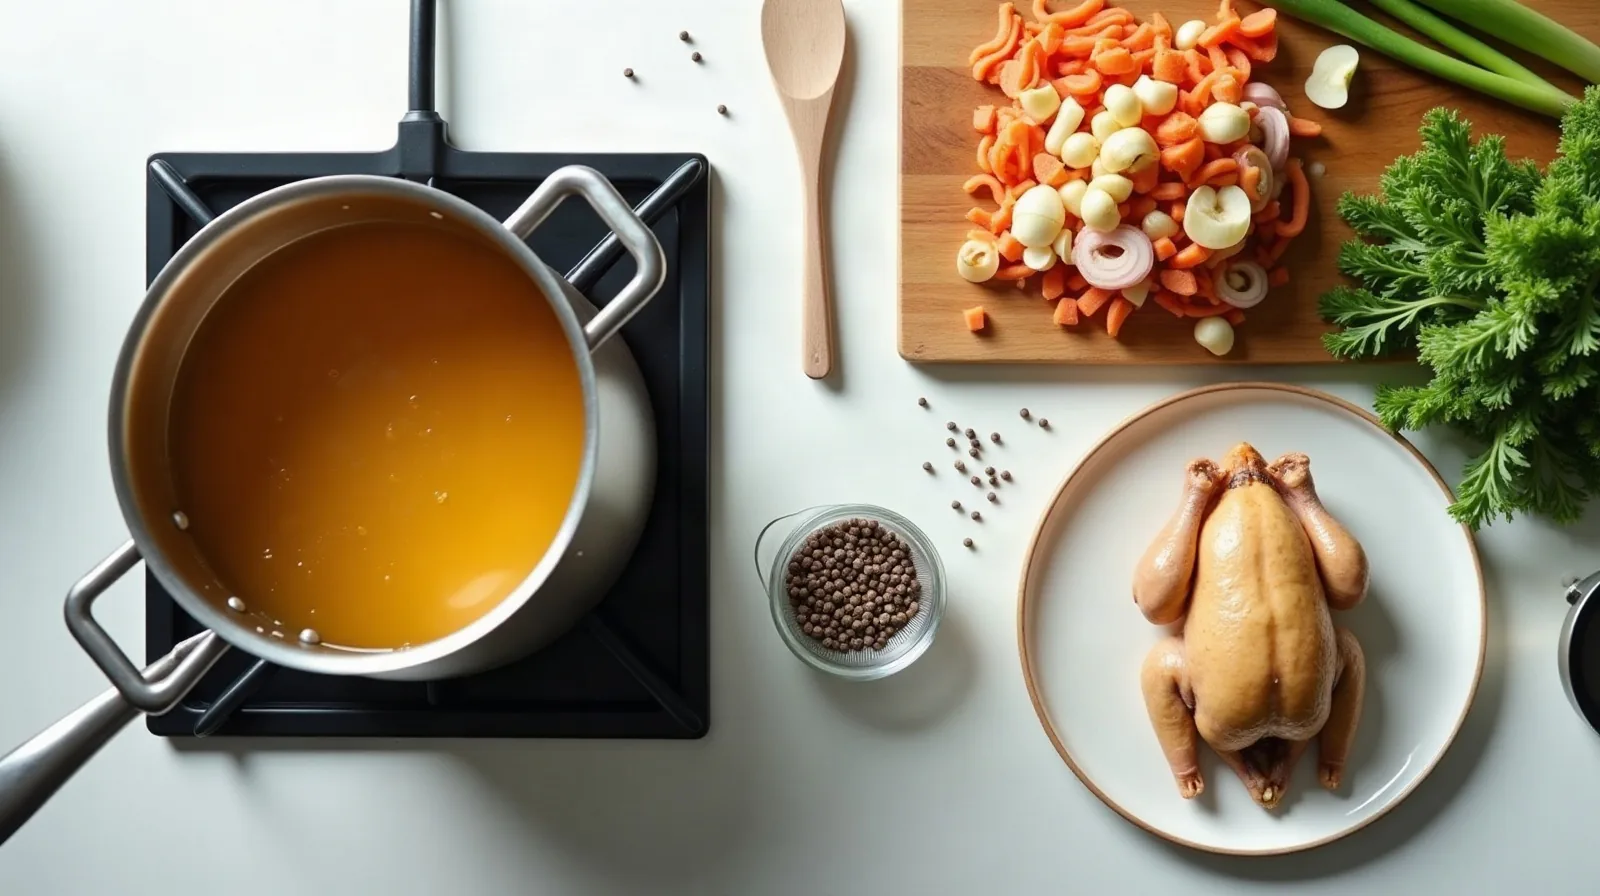
- Fill the pot. Pack scraps loosely into a large pot until it’s about two-thirds full. No need to thaw them first.
- Add cold water. Cover the scraps by an inch or two. Starting cold lets flavor release gradually and keeps the stock clearer.
- Add a little extra. A few whole peppercorns, a bay leaf, and a splash of vinegar if you’re using bones (it helps draw out body). Skip the salt.
- Bring to a bare simmer. Heat until you see small bubbles breaking at the surface, then lower the heat. A hard boil makes stock cloudy and can turn the flavor harsh.
- Simmer and wait. Vegetable stock needs about 45 minutes to an hour; going longer starts to dull it. Chicken bones are best at 2 to 3 hours. Skim off any foam that collects on top in the first few minutes.
- Strain. Pour through a fine strainer into a large bowl or another pot, pressing lightly on the solids, then discard them. They’ve done their job.
For a deeper, browner stock, roast the vegetable scraps on a sheet pan for 20 to 30 minutes before simmering, or let the onion ends get a little color in the dry pot first. The extra step adds a toasty, savory edge.
Cool It Fast and Store It Right
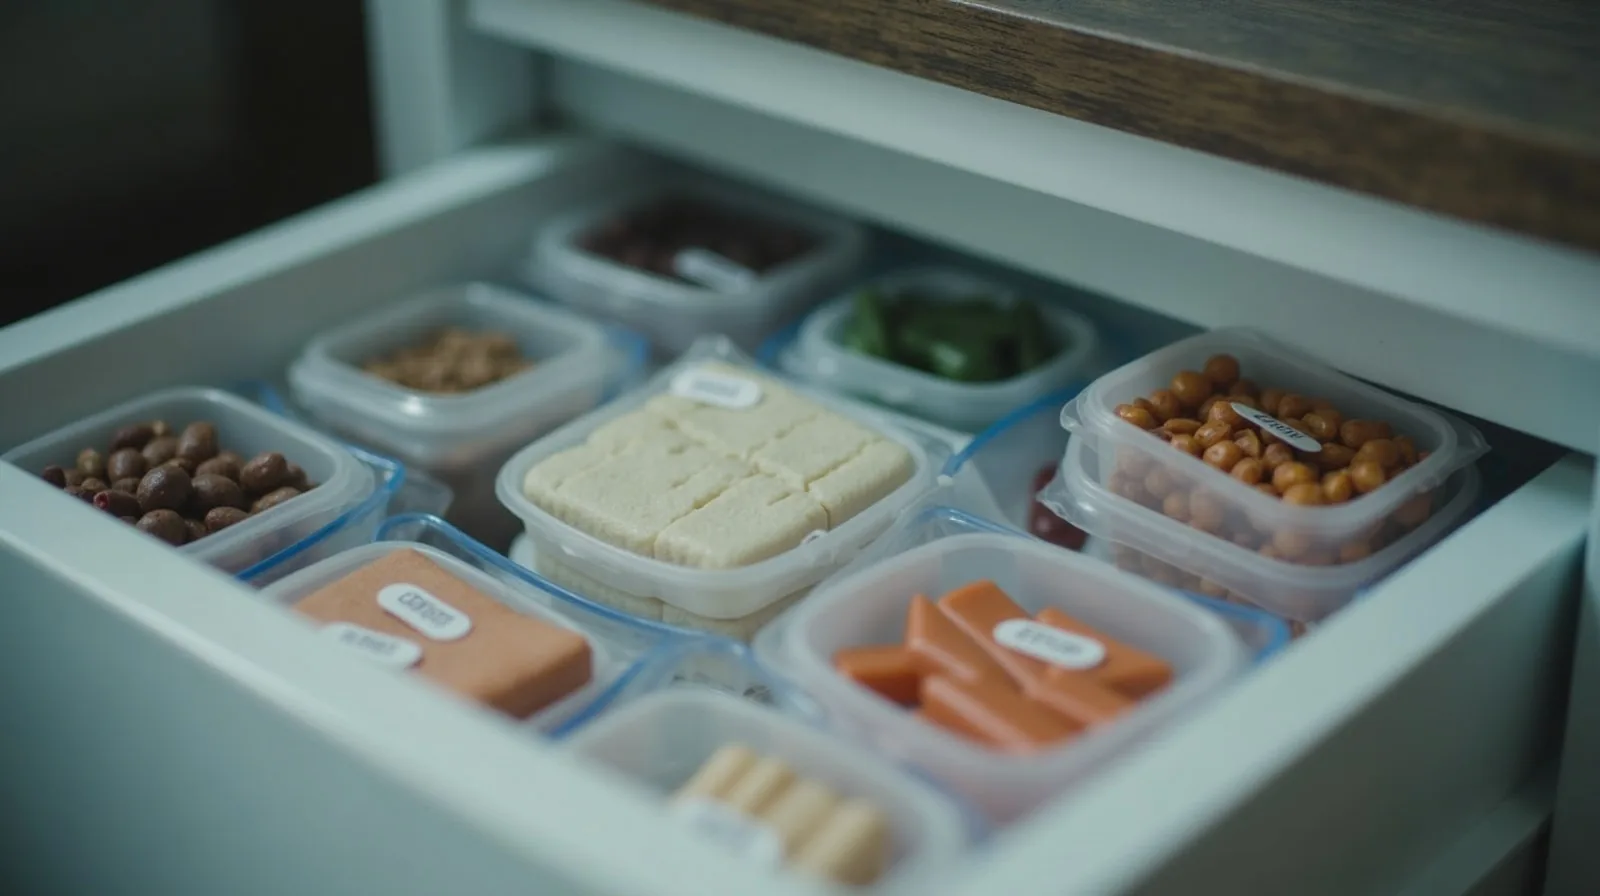
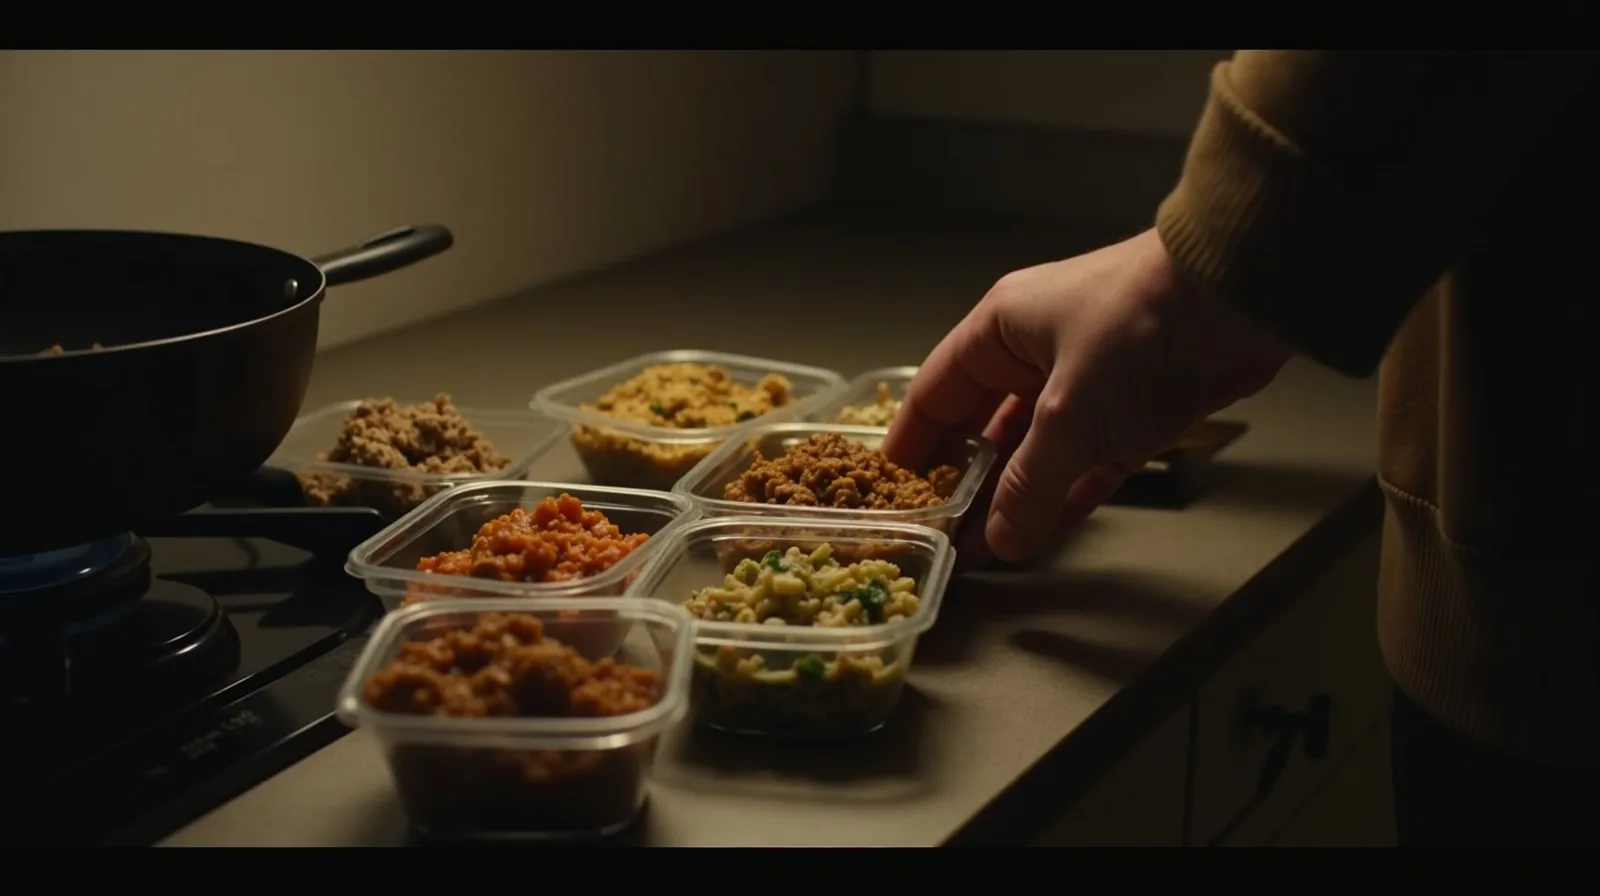
Stock is a friendly environment for bacteria if it sits warm, so cooling it quickly matters. Don’t put a big hot pot straight into the fridge. Instead, divide the stock into shallow containers or set the pot in a sink of ice water, stirring occasionally, until it’s cool to the touch, then refrigerate.
- Fridge: Use within 3 to 4 days.
- Freezer: Keeps for several months. Leave an inch of headroom in rigid containers, since liquid expands as it freezes.
- Ice cube trays: Freeze stock in trays, then move the cubes to a bag. A cube or two is perfect for a pan sauce or to thin out leftover rice.
- Labels: Write the date and the type (vegetable or chicken) on each container, because frozen stock all looks alike.
If a layer of fat sets on top of a chilled meat stock, lift it off and use it, or discard it for a leaner result.
Ways to Use It Up
Stock is at its best as a quiet upgrade to things you already cook. Cook rice or grains in it instead of water for a noticeably more savory side. Use it to loosen mashed potatoes, thin a pan sauce, or braise a pan of vegetables. It becomes the base for soup almost automatically: sauté an onion, add whatever vegetables and beans you have, pour in the stock, and simmer.
Because you left out the salt, taste whatever you make with it and season at the end. That’s the small trade-off for the control, and most cooks find they prefer it.