A grill takes the blame for a lot it didn’t actually cause. Chicken that’s dry by the time the outside looks right, a burger with a good crust wrapped around a pink, undercooked middle, vegetables that stick and tear apart on the way off the grate, or a flare-up that turns a nice sear into a black, bitter crust — these read like bad luck or an inferior grill, but almost all of them trace back to a small set of habits, and every one of them is fixable without new equipment.
Starting Before the Grill Is Actually Hot
The single most common mistake is impatience: food goes on the grate the moment it looks warm enough, instead of once it’s actually hot. A gas grill needs a genuine 10 to 15 minutes with the lid down to bring the grate itself up to temperature, not just the air above it. Charcoal needs longer — coals aren’t ready until they’re covered in a pale gray ash, which usually takes 20 to 30 minutes after lighting. A grate that hasn’t fully heated is also more likely to be dirty, and a dirty, cool grate is exactly what makes fish, chicken skin, and burgers stick and tear instead of releasing cleanly. Scraping the grate with a grill brush right after preheating, while it’s hot enough to loosen stuck-on residue, does more for sticking than any amount of oil.
Building Only One Heat Zone
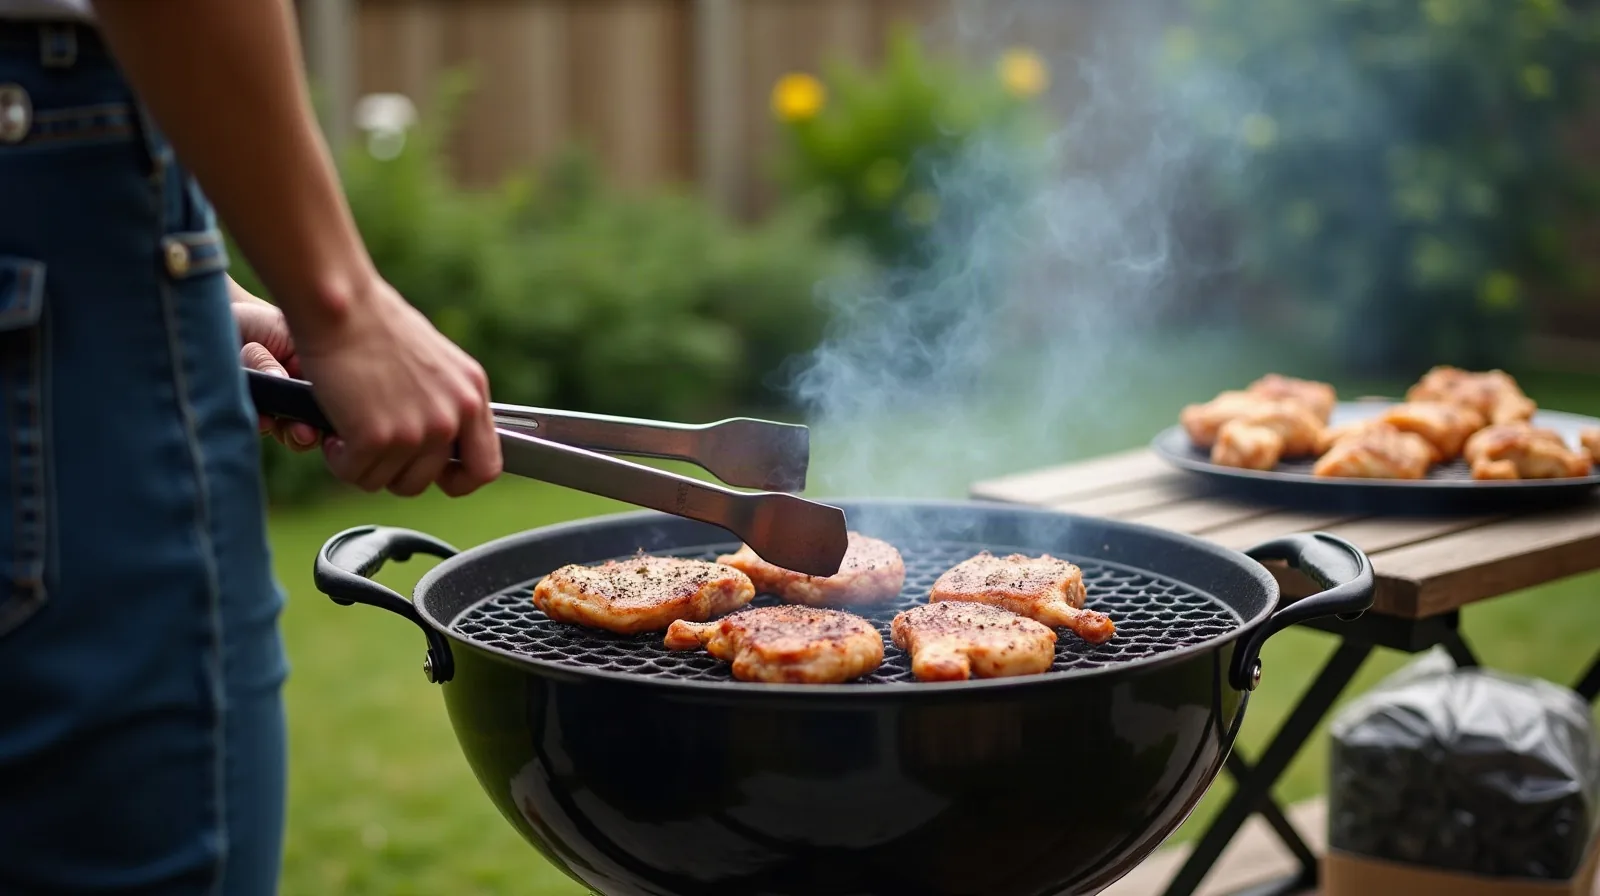
Spreading coals evenly across the whole charcoal bed, or leaving every gas burner on the same setting, gives a grill exactly one heat level — and one heat level can’t handle both searing and finishing. A two-zone fire fixes this in one move: bank the coals onto one half of the grill and leave the other half empty, or on a gas grill, leave one or two burners on high and turn the rest down low or off. The hot side sears quickly and builds a crust; the cooler side finishes thicker cuts, bone-in pieces, and anything that flares up gently, without burning the outside before the inside catches up. Thin items that just need a quick char — vegetables, thin-cut steaks, hot dogs — can stay entirely on the hot side; anything thick or prone to flare-ups gets seared hot and then moved over to finish.
Flipping (and Pressing) Too Often
Constant flipping and constant poking both work against the same thing: a good crust needs a few uninterrupted minutes of contact with the hot grate to actually form. Flipping every 30 seconds out of nervousness resets that clock every time and usually produces a paler, patchier crust than flipping just once or twice. Pressing down on a burger with a spatula — a habit that feels productive — does the opposite of what it looks like: it squeezes out the juices that were about to make the patty good, and sends them straight down into the flame.
Fighting Flare-Ups With the Lid Open
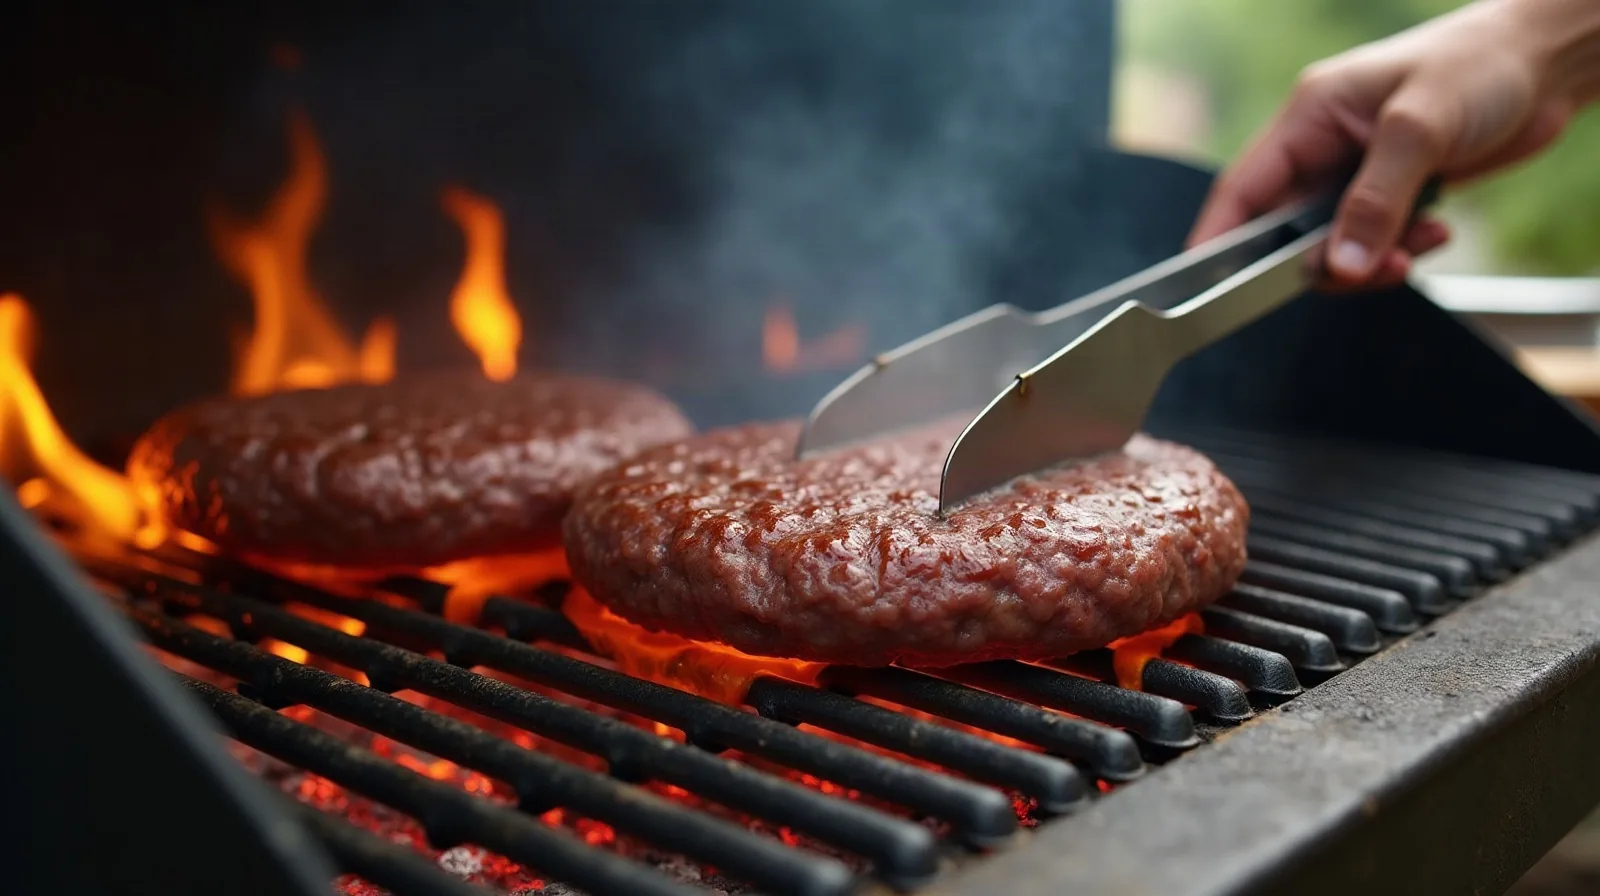
A small flare-up from dripping fat is normal and mostly harmless; the instinct to lift the lid and watch it, or worse, spray it with water, is what turns it into a problem. Water on a hot grill throws ash and steam back up onto the food and can warp a thin grate over time. The better move is to close the lid, which cuts off the oxygen feeding the flame and lets it die down on its own within a few seconds, and to simply slide the food over to the cooler zone if flare-ups keep recurring under one spot. Trimming excess fat before cooking and keeping the grease tray or drip pan clean between uses prevents most flare-ups before they start.
Trusting a Cut Instead of a Thermometer
Slicing into meat to check if it’s done is one of the least reliable ways to know, and it lets out juice that should have stayed inside. Color is worse: a chicken thigh can look done on the outside and still be raw near the bone, and a burger’s color can be misleading depending on the meat and how it was ground. An inexpensive instant-read thermometer, pushed into the thickest part of the cut without touching bone, gives an actual number in a few seconds — a real answer instead of a guess, and the only way to know a thick chicken breast or a whole roast is safely done without drying it out by cooking it well past that point out of caution.
Ignoring the Vents
A charcoal grill’s bottom and top vents control airflow, and airflow controls temperature: open them wider to feed the fire more oxygen and run hotter, close them down to starve it and run cooler or make the coals last longer. Left in whatever position they happened to be in, the fire drifts on its own instead of holding the temperature a recipe or a timing guide assumes. A gas grill has the same principle in a different form — the lid needs to stay down between checks to hold a stable temperature, since every lid-up peek lets heat escape and adds real minutes to the cook, especially with something like a whole roast or a rack of ribs that’s on the grill a long time.
Skipping the Rest
Pulling meat straight off the grill and cutting into it immediately undoes some of the work that went into cooking it well. Heat pushes a cut’s juices toward the center as it cooks, and a short rest — a few minutes for burgers and chicken pieces, longer for a thick steak or a whole roast — gives them time to redistribute through the meat instead of running out onto the cutting board the moment a knife goes in. Tenting it loosely with foil holds in warmth during the rest without steaming the crust soft.
None of this calls for new gear beyond a thermometer and a grill brush already sitting in most garages — just a slightly different order of habits between lighting the fire and serving dinner.