
A refrigerator gets wiped, not cleaned. Something spills, you grab a rag, you swipe the puddle, and that’s the extent of it — for months, sometimes longer. Meanwhile the shelf under the puddle stays sticky at the edges, the door gasket collects a dark line of grime in its folds, and the coils underneath quietly disappear under a felt of dust. None of it is visible on a quick look, which is exactly why a real deep clean, done once or twice a year, catches so much more than the daily routine ever does.
Empty It Out and Sort As You Go
Pick a day when the fridge is relatively bare — right before a grocery run beats right after one. Pull everything out onto the counter at once rather than shelf by shelf, and sort as you go: a quick check of dates and smells sends the obvious losses straight to the trash, while everything else lands in a rough “keep” pile. If the job is going to take more than about fifteen minutes, move anything genuinely perishable into a cooler bag or an insulated bin with a few ice packs so nothing warms up while the fridge sits open and empty.
Wash the Shelves, Drawers, and Bins in the Sink
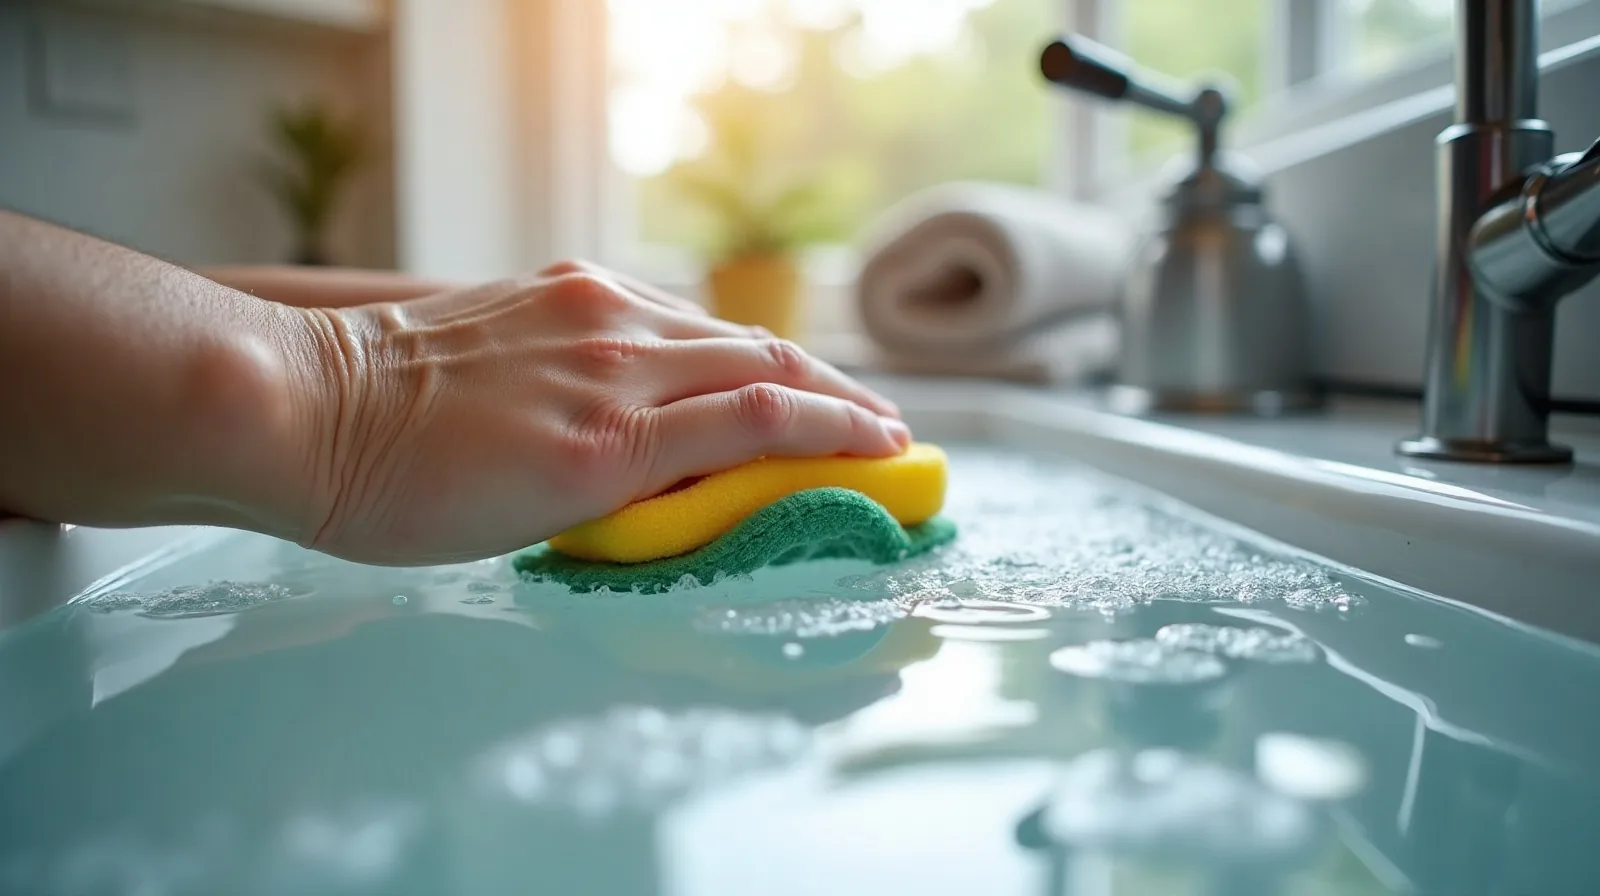
Removable shelves, drawers, and door bins clean far better in a sink than balanced on a counter. Let glass shelves sit out for a few minutes before they hit warm water — a cold shelf plunged straight into hot water can crack. Wash everything with warm water and a mild dish soap, or a mix of warm water and baking soda for anything with dried-on residue, then rinse and let each piece air-dry completely before it goes back in. Reloading a shelf while it’s still damp is one of the quiet causes of a fridge that smells musty again within a week.
Wipe the Interior Walls, Spills, and the Door Gasket
With everything out, wipe down the interior walls, ceiling, and floor of the fridge with a solution of warm water and baking soda — about a tablespoon per quart of water — rather than a harsh all-purpose cleaner that can leave a chemical smell on a food-contact surface. For a spill that’s dried into a stubborn film, lay a damp cloth over it for a few minutes to soften it before you scrub, instead of forcing a dry scrape.
The door gasket — the rubber seal that runs around the inside edge of the door — is the part almost everyone skips, and it’s usually the grimiest part of the whole fridge. Its folds trap crumbs and moisture and can grow a thin line of mold that’s easy to miss at a glance. Run a damp cloth or an old toothbrush along the full length of it, working into the creases, then dry it thoroughly. While you’re there, close the door on a piece of paper or a dollar bill and give it a tug: if it slides out with no resistance, the seal has gone slack and is worth replacing, since a weak seal quietly makes the compressor work harder than it should.
Deodorize Before You Reload
An empty, freshly wiped fridge is the easiest time to reset any lingering odor, especially after cleaning up something that leaked or expired unnoticed. Leaving the door open for ten or fifteen minutes while everything else finishes drying lets trapped smells air out on their own. An open box of baking soda, replaced every few months, absorbs odors on an ongoing basis far better than any spray, and a small dish of activated charcoal does something similar if you already have some on hand. Skip strong-scented gels or air fresheners inside the fridge itself — anything porous stored nearby, like butter or cheese, tends to pick up the scent.
Wipe the Outside, Top, and Handles
The top of the fridge collects a surprising amount of dust and kitchen grease, especially if it isn’t tucked under a cabinet, and it’s worth a wipe with a damp microfiber cloth each time you do the inside. Door handles deserve their own pass with soapy water or a disinfecting wipe, since they’re one of the most-touched surfaces in the kitchen. For the exterior finish itself, match the cleaner to the material — a mild soap and water for painted or plastic panels, and for a brushed metal finish, wiping in the direction of the grain rather than across it, which is what actually prevents streaking.
The Coils Nobody Cleans (and Why It Matters)
Every refrigerator has a set of condenser coils, either on the back of the unit or tucked behind a thin grille along the bottom front. They’re the part that releases heat as the fridge runs, and when they’re coated in dust and pet hair, they can’t shed heat efficiently — so the compressor runs longer and harder to hit the same temperature, which shows up as extra noise, a shorter appliance lifespan, and a small but real bump on the power bill. Unplug the fridge first, then pull it away from the wall or unclip the base grille, and vacuum the coils with a brush attachment or a long, narrow coil-cleaning brush made for exactly this. Twice a year is enough for most homes; households with shedding pets do better checking more often, since fur clogs coils faster than ordinary dust.
How Often to Actually Do This
A full deep clean twice a year keeps a fridge from ever reaching the state where the job feels overwhelming. In between, a monthly two-minute check — a scan for anything expired, a quick wipe of a fresh spill before it sets — keeps the surface-level mess from building toward the next big clean. The coils and gasket are the two spots worth a deliberate reminder, since neither one announces itself the way a sticky shelf does; everything else mostly takes care of itself if spills get wiped up the same day they happen.