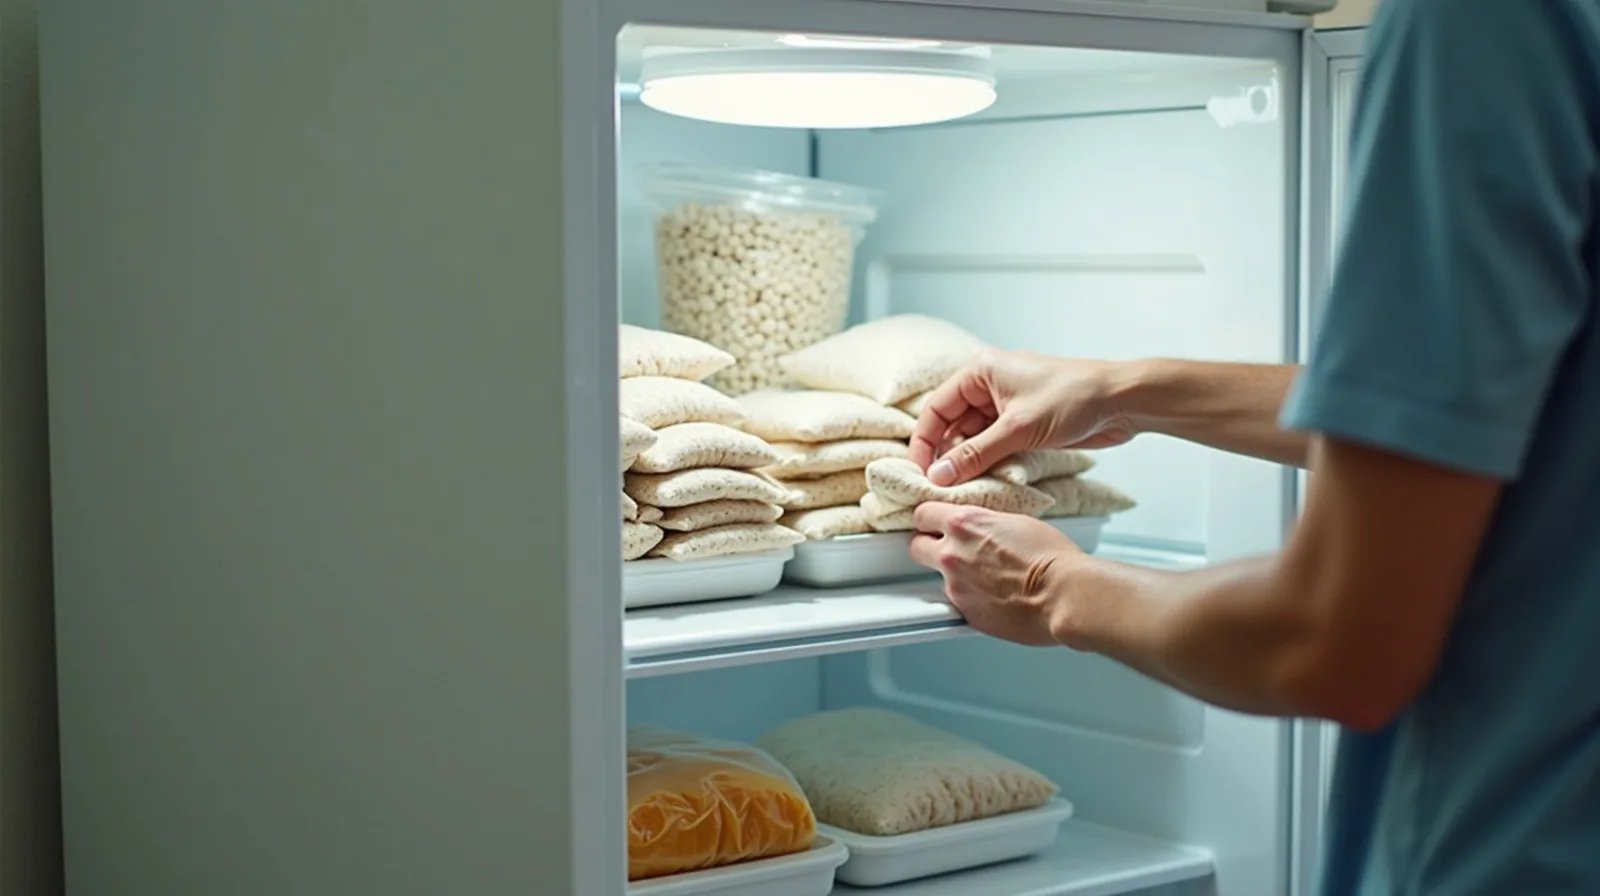
Every kitchen has one. The cabinet you open with a hand braced against the door, because something is going to come out whether you asked for it to or not. Inside is a decade of food storage containers, an unknowable number of lids, and a running suspicion that half of them no longer go together. It stays that way because the usual response — shoving it all back in and closing the door fast — treats the symptom. The actual fix takes about forty-five minutes once, and then a habit that costs nothing.
Why this cabinet goes feral and no other one does
Food containers are unusual among kitchen items: they arrive constantly, they never break in an obvious way, and they come in two separate pieces that are stored as though they were one. A pot is a pot. A container is a base and a lid, and the two get separated the moment they enter the dishwasher.
- They multiply invisibly. Takeout tubs, deli containers, gifted sets, and the ones that came with a purchase all pile in without anyone deciding to buy them.
- Nothing signals the end of their life. A warped lid or a stained base still technically works, so it never gets culled the way a cracked plate would.
- Bases and lids get stored together, which turns every retrieval into a dig and every put-away into a toss.
- Stacking two shapes is impossible. Round bases nest beautifully; a lid on top of a nested stack makes the whole thing unstable.
Recognizing that last point is most of the solution. The cabinet isn’t disorganized because of a shortage of bins — it’s disorganized because two things with completely different shapes are being asked to share one space.
Empty it out and match every lid to a base
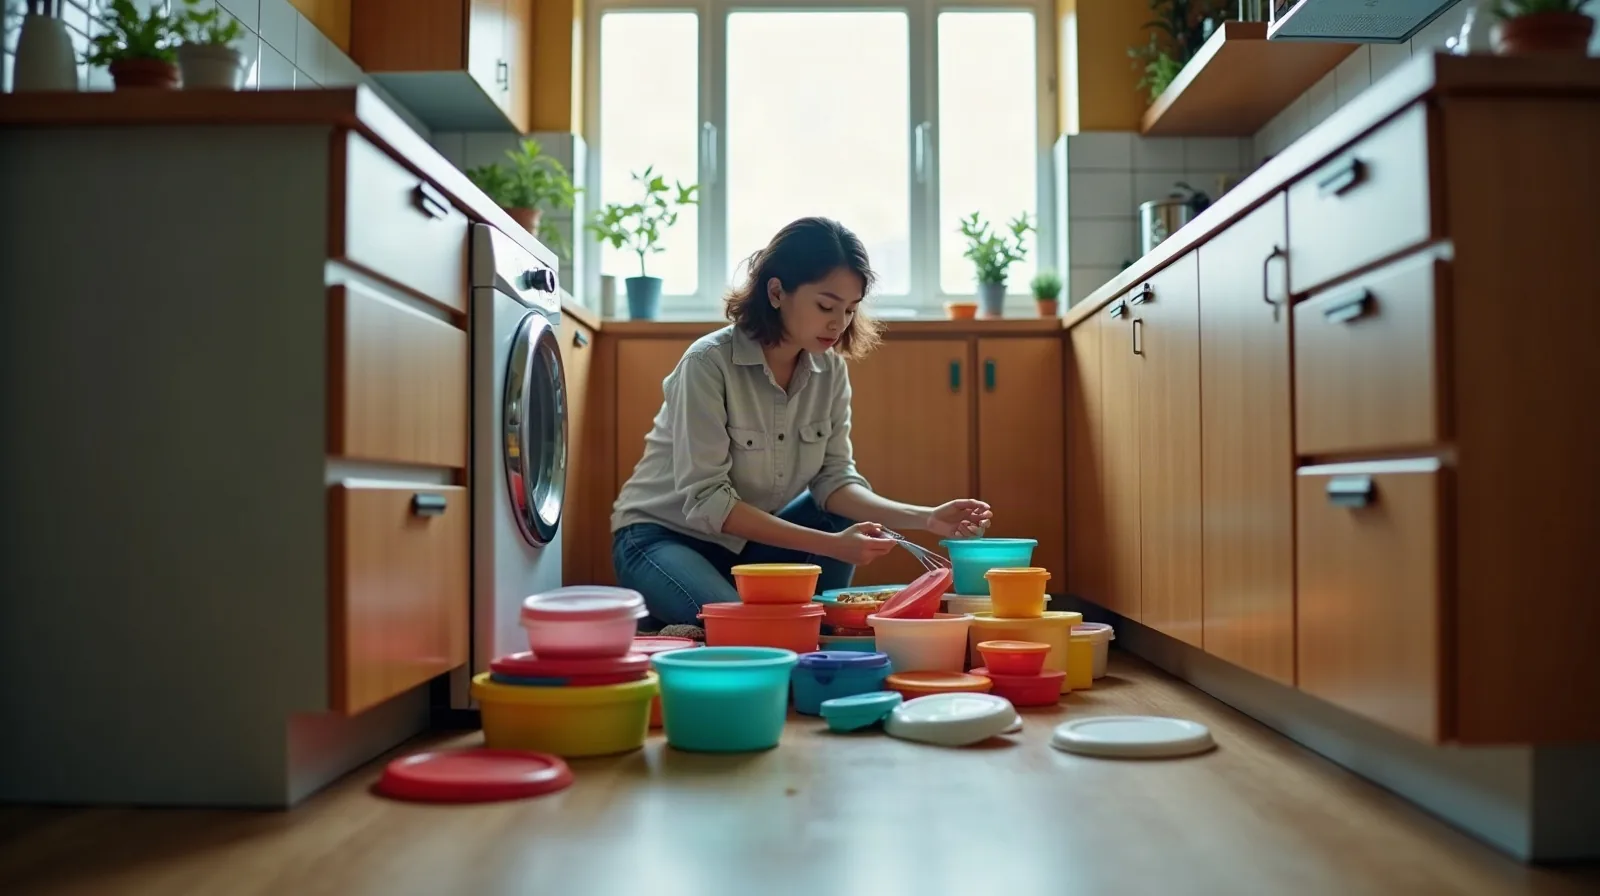
Start by taking every single piece out of the cabinet and putting it on the floor or a cleared counter. This part feels dramatic and it’s meant to. You cannot judge the collection while it’s still stacked inside a dark cabinet, and the pile on the floor is usually two or three times what anyone expects.
- Pair everything. Work through the bases one at a time, find the lid that fits, and snap it on. Set matched pairs on one side.
- Make an orphan pile. Any lid with no base and any base with no lid goes into a separate heap. This heap is almost always enormous, and it’s the whole reason the cabinet overflows.
- Recycle the orphans. A base with no lid is a mixing bowl you already own; a lid with no base is nothing at all. Check the recycling number stamped on the bottom and let them go.
- Be honest about the takeout tubs. Keep a small handful for leftovers you’re sending home with someone. Not thirty.
- Wipe the empty cabinet while you have the rare chance — it will not be empty again for years.
Most people cut the collection roughly in half at this step without giving up a single usable container. Nothing that survives the orphan purge is something you were actually using.
Store bases and lids separately — that’s the whole system
Here is the change that keeps the cabinet fixed after the cleanout. Stop storing containers assembled, and stop storing lids in a heap.
- Nest the bases by shape and size. Round with round, square with square, stacked smallest inside largest so they take up the footprint of one container instead of six.
- File the lids upright in a bin. A small open bin, a napkin holder, or a short dish rack turns lids into a row of files you can flip through with one finger. Sort them largest at the back to smallest at the front.
- Give the bin a lip that faces you so you can pull the whole thing out like a drawer instead of reaching blindly to the back of the cabinet.
- Keep the everyday sizes at the front. Whatever holds a portion of leftovers gets the reachable spot; the once-a-year giant one goes to the back or somewhere else entirely.
- Store the lid off the base, always — a sealed empty container traps moisture and eventually smells stale.
The upright lid bin sounds fussy for about a day, and then it becomes the reason you never dig again. When a base comes out of the dishwasher it goes on the nest; when a lid comes out it goes in the file. The two never merge back into a pile.
Stains, smells, and cloudy plastic
A container that looks past saving usually isn’t. Tomato-orange staining and lingering garlic smells are surface problems with straightforward fixes.
- Orange and red stains lift with a paste of baking soda and a little water — spread it on, leave it an hour, then scrub gently and rinse.
- Sunlight bleaches remarkably well. Wash the container, leave it damp, and set it outside or on a sunny windowsill for a few hours. Stains fade noticeably.
- Lingering odors respond to a soak in warm water with a spoonful of baking soda, or crumpled newspaper sealed inside overnight to absorb the smell.
- Prevent the stain instead. A quick spray of cooking oil on the inside before adding tomato sauce keeps the pigment from bonding to the plastic in the first place.
- Cloudiness from the dishwasher is usually mineral film — a wipe with white vinegar clears it. Cloudiness that doesn’t wipe away is surface scratching, and that one is permanent.
Wash plastic containers on the top rack, where the heating element is farthest away. Most warped lids get that way from a bottom-rack cycle, and a warped lid never seals properly again.
Glass and plastic each have a job
The material debate has a boring, useful answer: they’re good at different things, and a mixed collection beats an all-of-one collection.
- Glass wins for reheating and for anything oily, acidic, or strongly colored. It doesn’t stain, doesn’t hold odors, goes from fridge to oven or microwave, and lasts essentially forever.
- Plastic wins for portability. It’s light, it doesn’t shatter in a bag, and it’s the obvious choice for a packed lunch, a picnic, or anything a child is carrying.
- Buy one shape family, not six. Containers from a single line nest and share lid sizes, which is worth more day to day than any individual container’s features.
- Square and rectangular use shelf space better than round ones, in the cabinet and in the fridge alike.
- Check that lids are sold separately before committing to a set. A line that replaces lids individually outlives one that doesn’t.
If you’re replacing gradually rather than all at once, glass for the containers that live in the fridge and get reheated, plastic for the ones that leave the house, is a sensible way to split it.
When a container has earned its retirement
A short list keeps the collection from creeping back. Retire anything that meets one of these:
- The lid no longer seals — it pops off, sits crooked, or leaks when tipped. A container that leaks is worse than no container.
- It’s cracked, deeply scratched, or gouged. Scratches hold residue that washing doesn’t fully reach, and a crack will split completely at the worst moment.
- It’s warped. A base that rocks or a lid that has gone oval will never seal again, no matter how carefully you press it.
- It’s cloudy and rough to the touch, a sign the plastic itself is breaking down rather than just being dirty.
- You have more than you have shelf space for. The cabinet is the limit. If a new set arrives, an old set leaves.
That last one does the ongoing work. A fixed ceiling means the cleanout you just did is the only one you’ll ever need to do, because nothing can accumulate past the space you gave it.
None of this is complicated, which is exactly why the cabinet stays broken in so many kitchens — it looks like a problem that needs more storage, when it’s really a problem that needs fewer pieces and two separate homes. Cull the orphans, nest the bases, file the lids, and the door opens without a hand braced against it.