A folder of paper that you can’t search is a folder you will eventually dig through at the worst moment: a tax question, an insurance claim, a lease dispute, a warranty about to expire. Phones have quietly turned that problem into a ten-second job. The scanner built into your phone’s notes or files app straightens the page, boosts the contrast, and saves it as a clean PDF, no extra gadget required.
The catch is that a careless photo of a curled receipt on a dark couch looks like exactly that. A few small habits make the difference between a scan you can actually use and one you’ll have to redo.
Why a Scan Beats a Photo
A regular photo captures the paper, the table, the shadow of your hand, and whatever tilt you happened to hold. A scan mode does something different: it finds the page edges, flattens the angle, evens out the lighting, and often reads the text so the file becomes searchable. That last part matters most. A searchable PDF means typing a word from the document — a name, an amount, a policy number — instead of opening files one at a time.
Look for a “scan document” option inside your phone’s notes app, files app, or camera. They all do roughly the same thing, so use whichever you open without thinking.
Set Up the Shot Before You Tap
Most bad scans are bad setups. Spend thirty seconds on the basics:
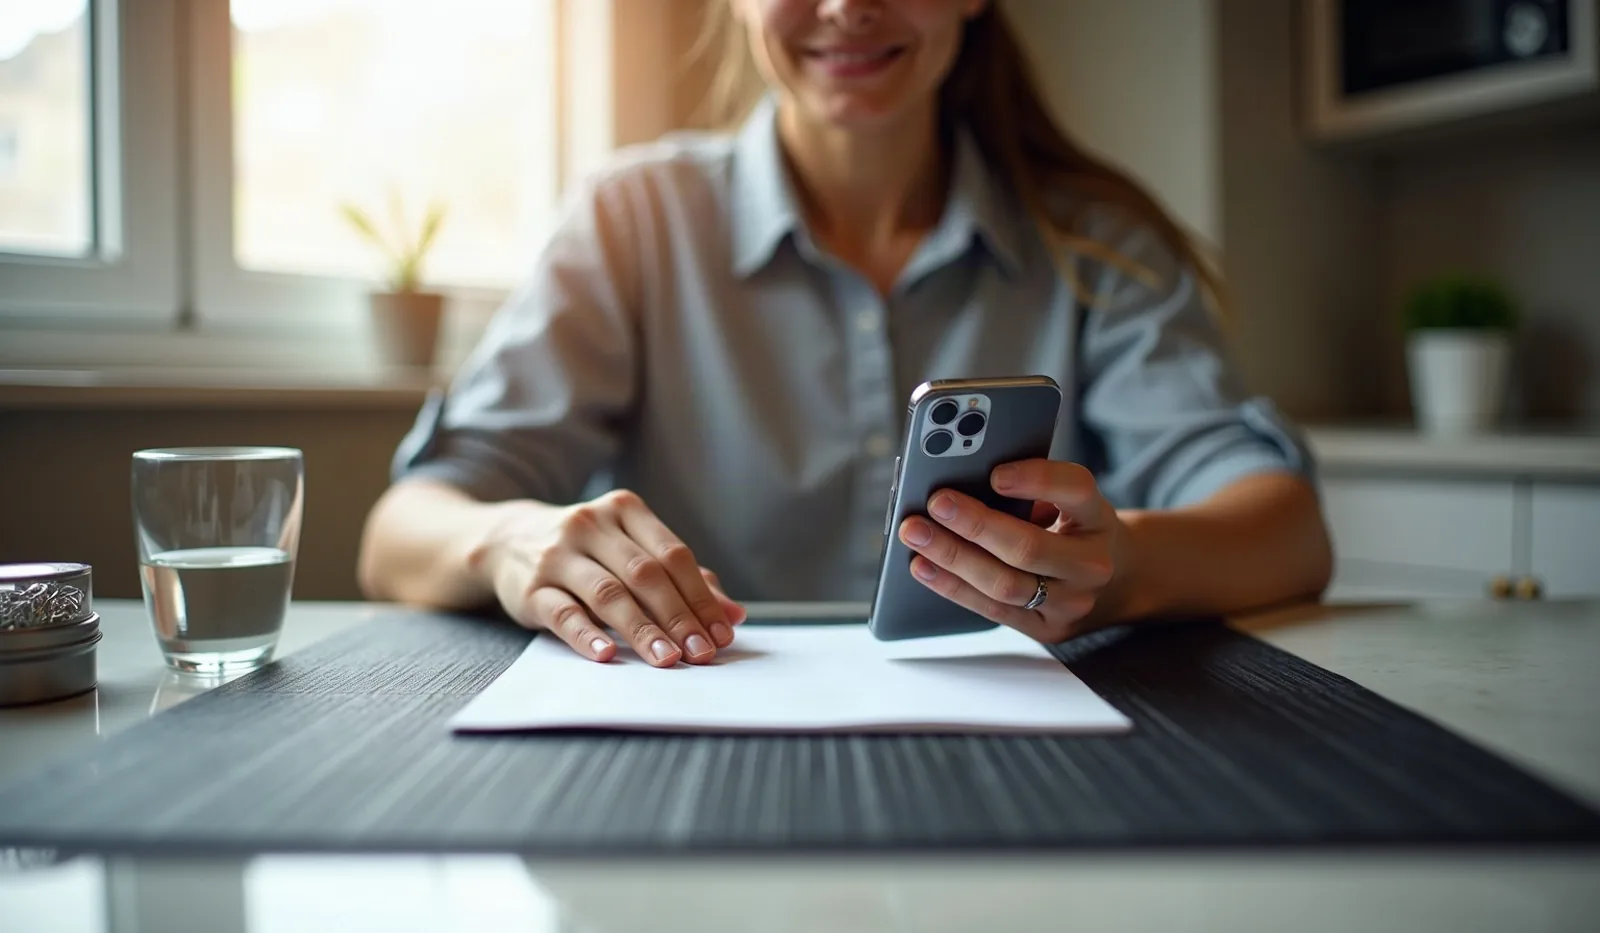
- Use a contrasting surface. White paper on a dark placemat or tabletop lets the scanner find the edges instantly. White paper on a white counter makes it guess.
- Light from the side, not behind you. Standing over the page casts your own shadow across it. Face a window or a lamp and let the light come across the table.
- Hold the phone parallel to the page. If the phone is tilted, the text shrinks toward one side. Straight above, like a roof over the paper, keeps everything even.
- Flatten the page. Smooth creases with your palm, and rest a pen or a clean mug on stubborn curls. For a stapled packet, scan one sheet at a time.
Capture Clean, Multi-Page Files
Open the scan option and let auto-capture do the work: hold steady over the page, and the app outlines the edges and snaps the picture on its own. If the outline looks off, drag the four corner handles to the real corners before saving. Then check three things before moving on:
- Every line of text is readable when you zoom in, especially numbers.
- Nothing is cut off at the margins or along a fold.
- The color mode fits the job. Black-and-white keeps text-only pages small and crisp, while color is worth it for anything with a stamp, a signature, or a highlighted line.
For a multi-page document, keep adding pages to the same scan instead of saving each sheet separately. One contract becomes one file, in the right order, rather than six files named after the time you took them. Most apps also let you drag pages to reorder and delete a blurry one without starting over.
Name It So You Can Find It
A scanner is only as good as the system it feeds. The default name — a string of digits or “Scan 14” — guarantees a pile of mystery files within a month. A tiny naming pattern fixes it:
- Start with the date, written year-month-day, such as 2026-10-23. Files then sort in true time order on their own.
- Add what it is and who it’s from, in plain words: 2026-10-23 car insurance renewal.
- Keep it short. Five words or fewer, no clever abbreviations you’ll forget.
Then drop each file into one of just a handful of folders — home, car, health, money, work, and a catch-all for the rest. Resist building a tree of subfolders. Because the text is searchable, a broad folder plus a good name is faster than a perfect hierarchy.
Keep Scans Safe
A scan of a tax return or a medical bill is as sensitive as the paper, and it travels more easily. A few ground rules:
- Save to a locked place. Use a folder protected by your phone’s passcode or biometrics, with automatic backup turned on so a lost phone doesn’t take the only copy with it.
- Delete the stray copy. Scans often also land in the photo gallery or a downloads folder. Remove those duplicates once the file is where it belongs.
- Be careful sharing. Send sensitive files through a secure link or a protected attachment, and avoid scanning on a shared or borrowed phone.
- Mind the network. If your app uploads automatically, wait until you’re on a trusted network for anything with account or ID numbers.
What to Scan, and What to Keep on Paper
Scanning is not a reason to shred everything. A useful rule: scan nearly all of it, but keep the original of anything that carries legal weight on its own. Original birth certificates, passports, property deeds, titles, and signed wills belong in a safe place as paper, with a scan as a backup. The same goes for anything an agency specifically asks to see in original form.
The easy wins to scan and then recycle are the day-to-day pile: receipts for big purchases, warranties, manuals, medical bills and explanation-of-benefits letters, pay stubs, insurance cards, and kids’ school forms. If you are unsure how long to keep a particular record, hold the paper until you’ve checked the retention guidance for that kind of document, then toss it with confidence.
A Ten-Minute Weekly Routine
Scanning works best as a habit, not a marathon. Keep a single tray or folder for “to scan,” and once a week, set a timer for ten minutes and work through it: scan, name, file, recycle or shred. Big backlogs shrink fast when you attack one drawer per week, starting with the most recent year. Within a month, the tray is mostly empty and the next time someone asks for a document, you’ll find it with a single search.