
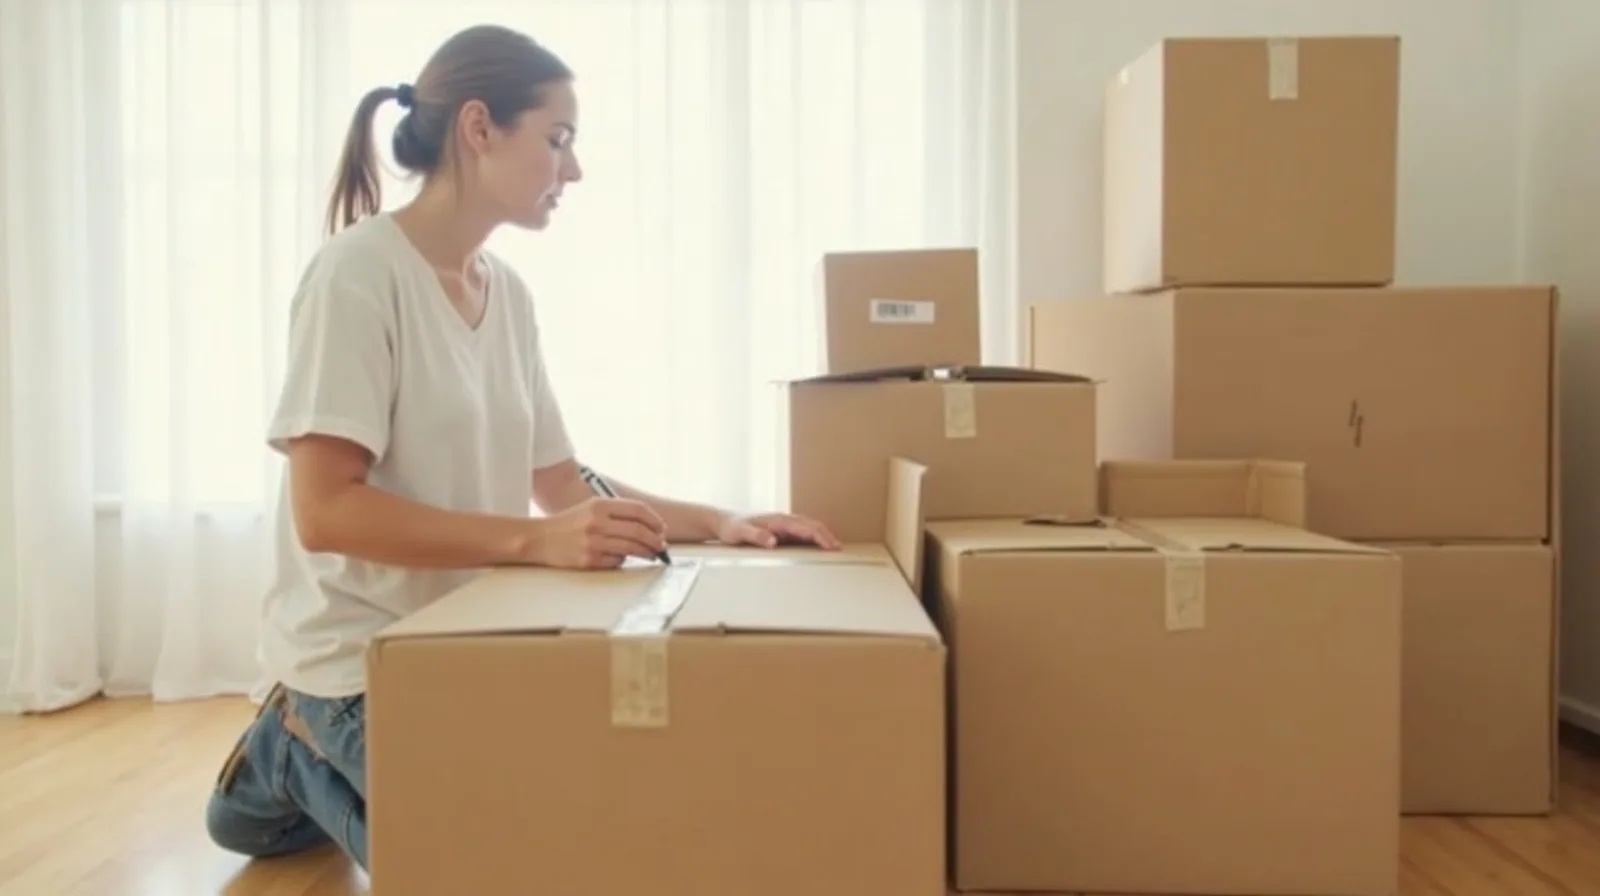
The physical work of moving — the lifting, the packing tape, the truck — is only half the job. The other half happens on the other end, when a wall of identical brown boxes needs to become a functioning home again. A stack of unlabeled boxes turns that process into a guessing game, opening box after box looking for the coffee maker while dinner plans slip further away. A labeling system fixes this before it starts, and it costs almost nothing extra to set up. The whole approach below adds maybe an extra minute per box while packing, and it pays that back many times over on move-in day.
Label the sides, not the top
This is the single biggest upgrade most people miss. Boxes get stacked in a truck and again in the new place, which means the top of a box is often invisible until it’s the only one left in the pile. Writing the label on one or two side faces instead means you can read what’s inside without unstacking anything — you just walk along a row of boxes and read straight across. It takes the same ten seconds as labeling the top; it just means turning the marker toward the side instead. For good measure, label two adjacent sides rather than just one, since you can’t always predict which face will end up pointed outward once boxes are wedged into a packed truck.
Room, contents, and priority
A label that just says “kitchen” helps a little. A label with a bit more structure helps a lot. Aim for three pieces of information on every box:
- Destination room. Not where the box is packed from, but where it should land — this is what tells movers or helpful friends where to actually put it down.
- A one-line contents summary. Not an inventory, just enough to know roughly what’s inside without opening it — “pots & pans,” “winter clothes,” “bathroom – toiletries.”
- A priority marker. A simple star, dot, or the word “first” on boxes that need to be opened on day one versus boxes that can wait a week.
Keep the writing quick and consistent — a thick marker in the same spot on every box, rather than a different style each time, makes scanning a stacked wall of boxes much faster once you’re tired and just trying to find the kettle.
Color-code by room
Layering a color system on top of the written labels makes sorting nearly instant, especially useful if you have friends or movers helping who won’t take time to read every box. Assign each room a color — a strip of colored tape, a colored sticker, or even a different marker color — and mark the corresponding room’s doorway with the same color when you arrive. Anyone carrying boxes can then match color to doorway without reading a single word, which speeds up the unload dramatically and keeps boxes from landing in the wrong room, where they tend to sit unopened for weeks. Tape a small key by the front door of the new place listing which color goes with which room, so anyone helping — including people who never saw the old place — can sort boxes correctly on sight.
Number every box against a master list
For a full-house move, a numbered master list is worth the extra few minutes. As you pack each box, give it a number and jot a slightly more detailed contents note on a running list — a notes app or a simple spreadsheet works fine. This does two things a label alone can’t: it lets you confirm nothing went missing in transit by checking the count, and it lets you actually search for a specific item (“which box has the phone chargers”) instead of scanning labels one by one. Mark fragile and heavy boxes clearly and separately from the room/priority system, since those need different handling regardless of what room they’re headed to. Finally, pack one dedicated essentials box — toiletries, a phone charger, basic tools, a change of clothes — and mark it unmistakably so it’s the very first thing off the truck, before the search for anything else begins. It’s worth loading that box into a car rather than the moving truck if you have the choice, so it’s guaranteed to arrive with you rather than getting buried under everything else during unload.